A while back, I wrote my first post on restorative yoga. I’ve learned a lot more since then, and I’m glad to share it all with you.
Props are an important part of the restorative practice. They help you get cozy and completely release physical effort. When we are “trying” to do a pose, we activate the sympathetic nervous system, the part of us that struggles to find solutions and bounces back and forth between fight and flight. It’s a form of stress (though yoga is a more positive stressor than others).
When you relax into a restorative yoga pose, you turn off your sympathetic nervous system and activate your parasympathetic nervous system. This is the part of your nerve network that promotes repair and restoration for every tiny cell in your body.
Yes, restorative yoga can help our bodies discharge stress and tension. But I think even more importantly, it gives our minds and bodies an opportunity to recharge. This repair phase can soothe inflammation and encourage us to tune into our bodies and examine what’s happening inside. This can be vital to the early detection and prevention of ailments.
Of course, the hardest part of restorative yoga is letting the mind rest. Not worrying. Not planning. Not waiting anxiously for the pose to end and the next pose to begin. This is the hardest work in the restorative practice.
The second hardest thing may be getting into the poses the first few times! There are several props to consider and the setup for poses may take a minute until you’re used to them. It’s SO worth it!
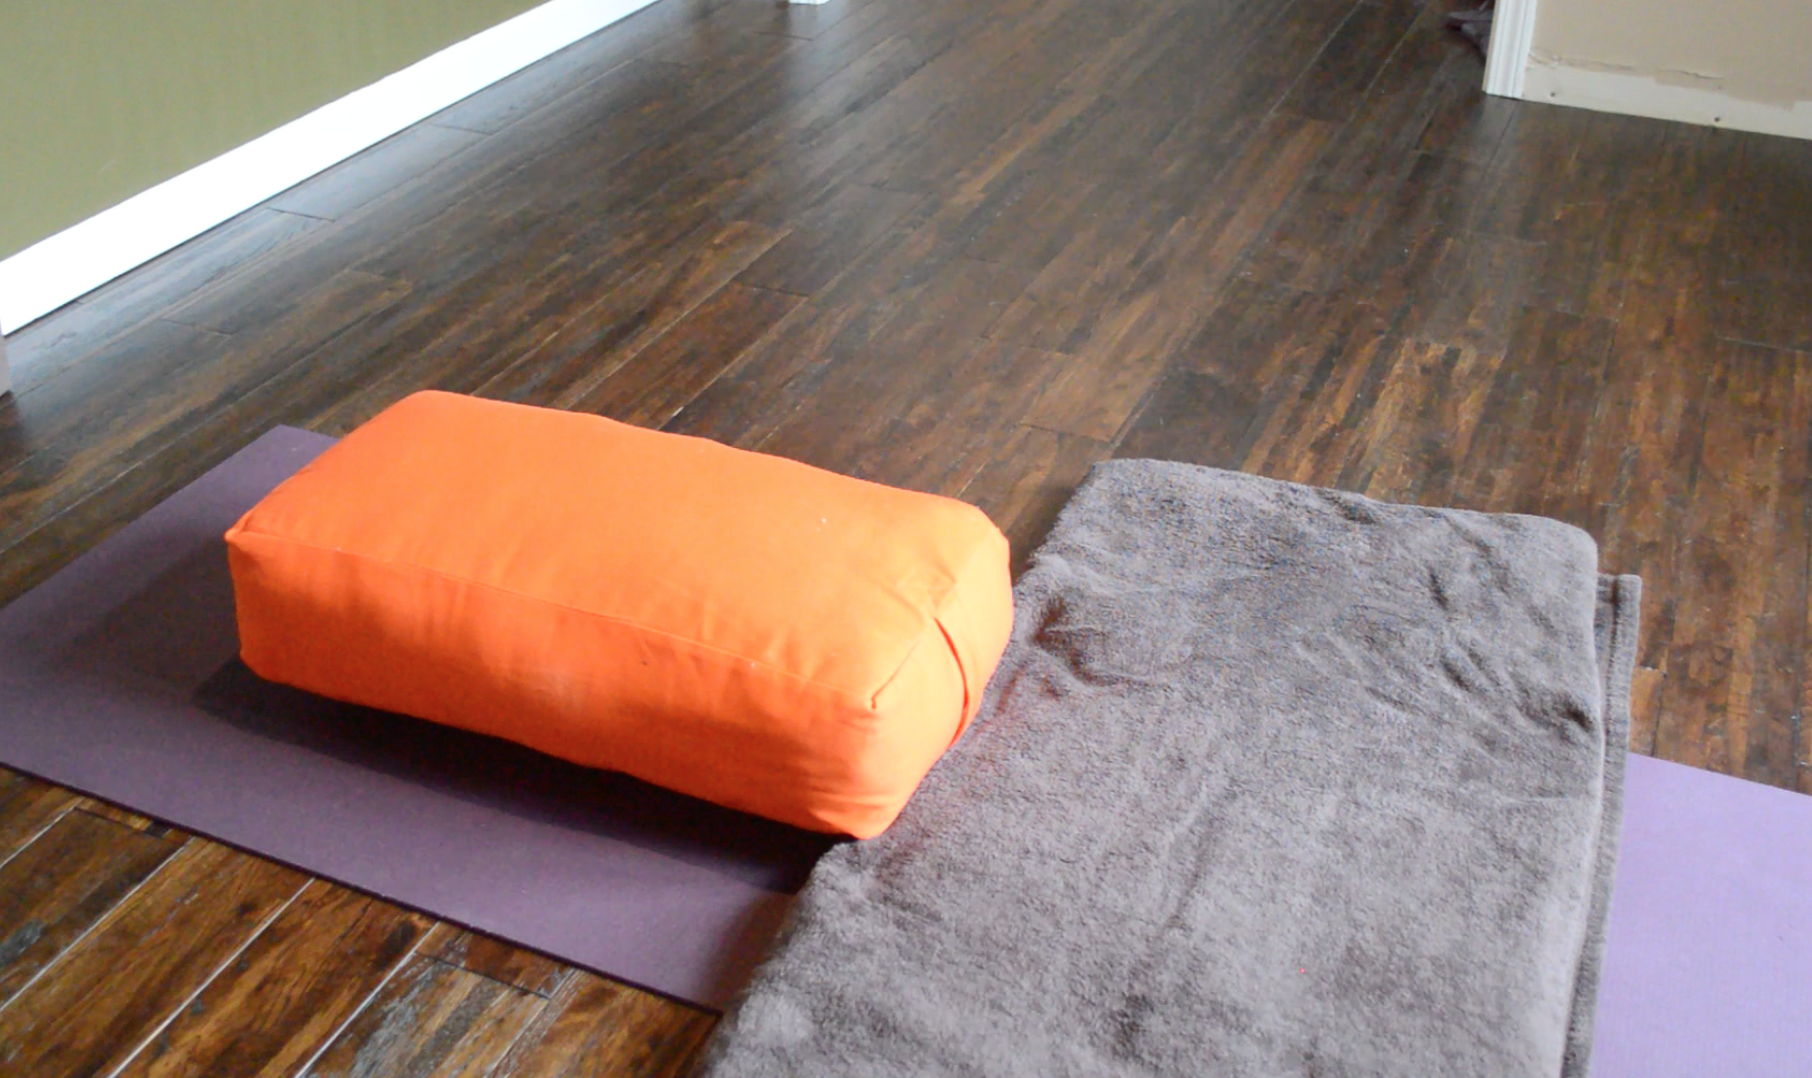
First you will want to gather these props in addition to your mat. If you don’t have a bolster, add two additional blankets to the list. Your blankets should be thin and foldable. (A comforter is a less good idea.)
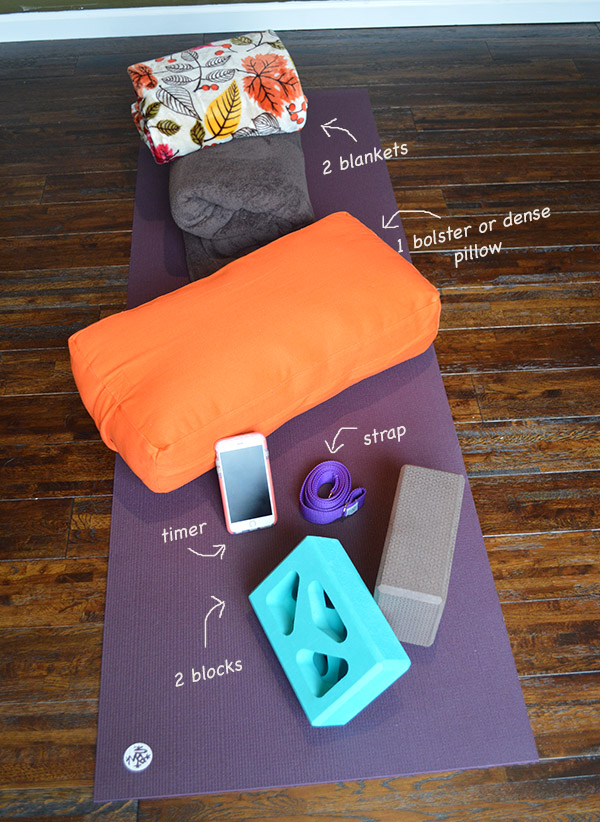
Small, dense throw pillows can substitute for yoga blocks here.
For those who are chronically cold, you may want a third blanket that you can drape over your body in some poses. Restorative yoga can be very grounding and cooling. You won’t build much heat during a practice like this.
If you like to practice with music in the background, create a playlist without lyrics. Lyrics can be very distracting during a restorative practice.
Lastly, if you are short on time, give yourself at least 5 minutes in each pose. Really, 10 minutes is ideal but not always accessible in our schedules.
We will start with a simple supported supine twist. Twists help to:
- Stretch the back, glutes and hips
- Hydrate the disks of your spine
- May help to realign your spine
- Massage the organs of your abdomen, promoting the release of toxins and sedentary matter
- Provides fresh blood to your digestive organs, promoting overall health and improved functionality
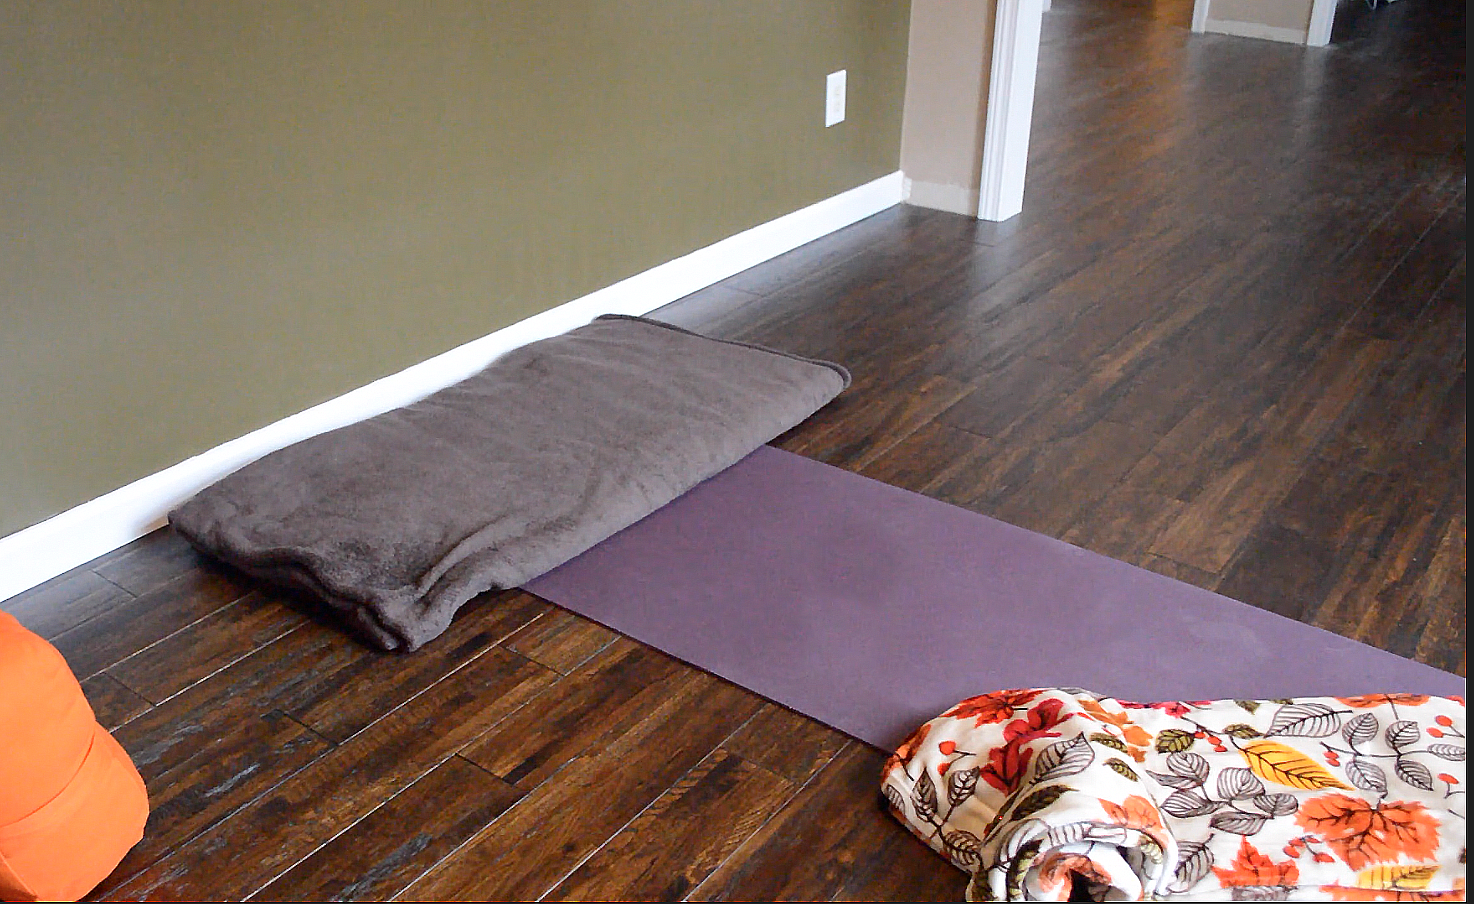
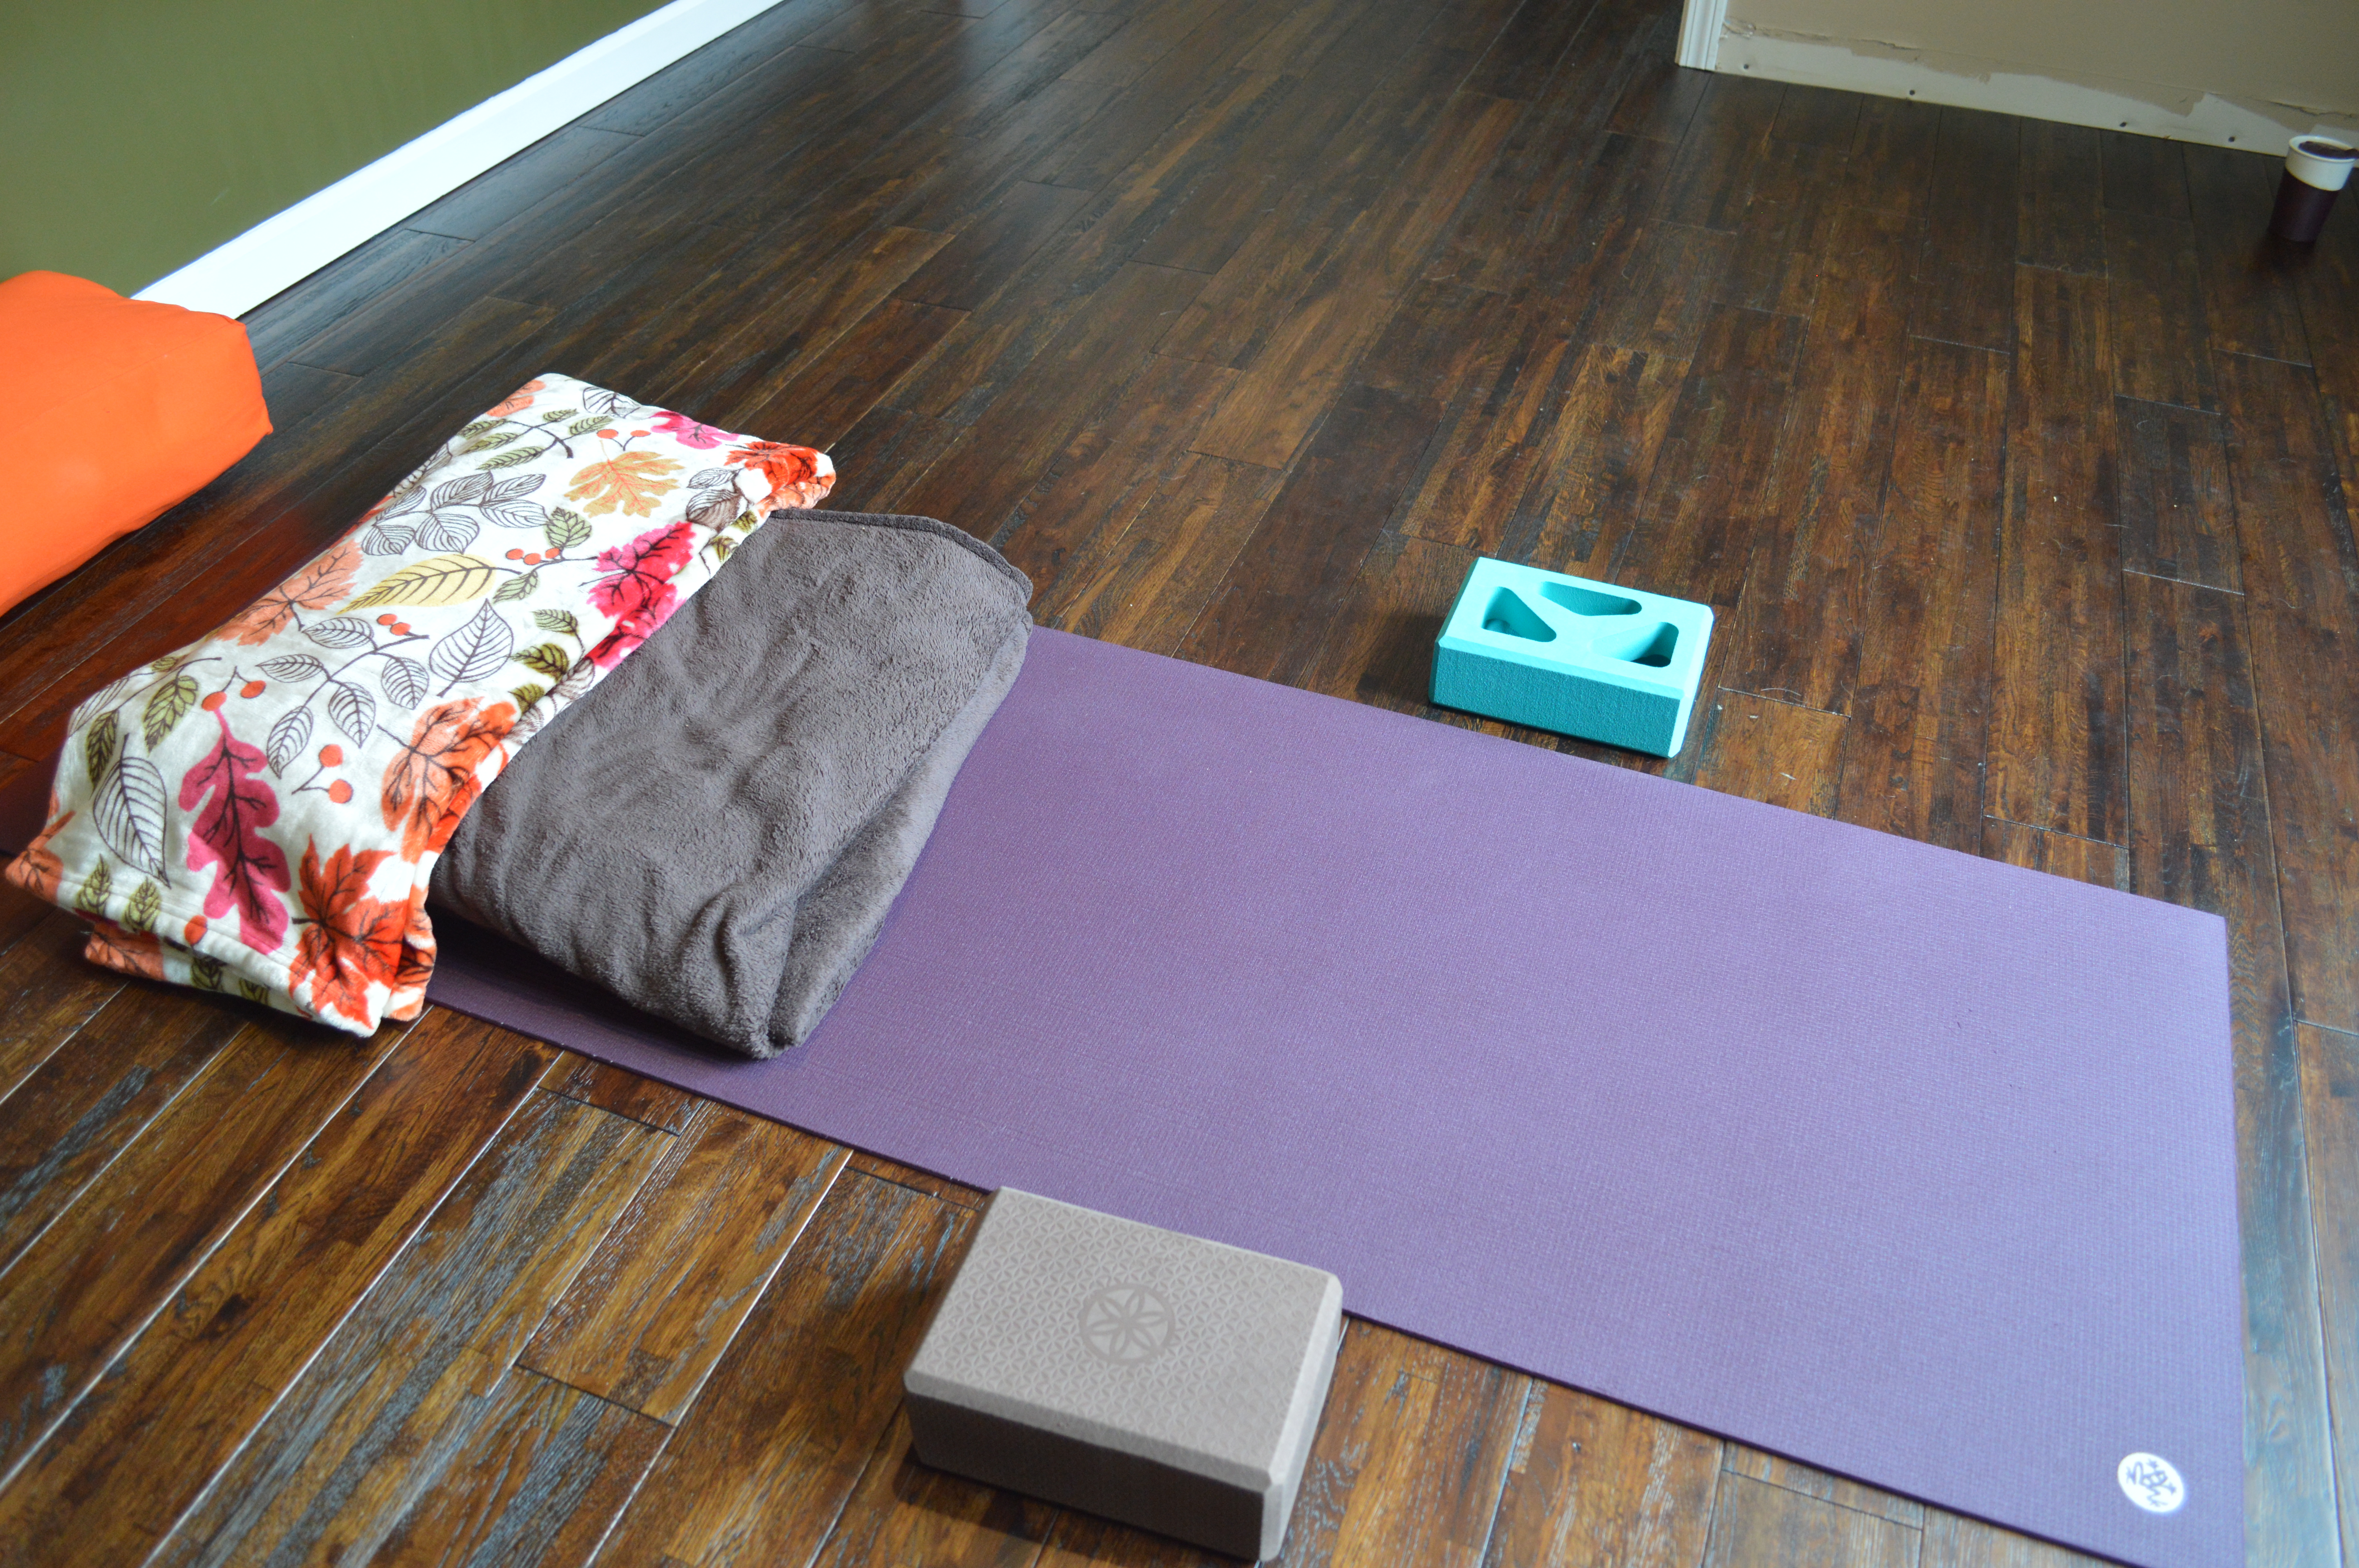
Begin with one blanket across the top of your mat. This will support your shoulders and protect your arms from the coolness of the floor. Keep a second blanket on hand, folded into a small square.
Now, it’s time to get cozy!
Next up is reclined cobblers pose or supine bound angle pose–one of my faves. This pose:
- opens hip flexors
- stimulates ovaries and prostate gland, bladder, and kidneys
- stretches groin, inner thigh, and knees
- good for soothing symptoms of menstrual cramps
You will want to create a T shape with your blankets. Have a block on either side of your mat. Keep your strap nearby.
Once your nest is cozy, you can settle into the pose.
Next we have supported child’s pose. It feels so delicious! I hope you enjoy this one. The benefits of supported child’s pose are:
- Gently stretches the hips, thighs, and ankles
- Promotes a sense of calm
- Can minimize or relieve back and neck pain
Here is the setup, an upside down T with the tallest stack of blankets or bolster at the top. Keep your second blanket close at hand in case you need it. You’ll see why in the video.
And now, enjoy!
Last but not least, there is Legs Up the Wall pose, which can replace traditional savasana for those who enjoy it. This pose:
- relieves headaches
- relieves lower back pain
- improves blood circulation
Here is the super simple setup. Pull you mat close to the wall and put our blanket near the intersection of the floor and wall. The height of your blanket may vary depending on your lower back’s needs. Begin fairly thin and build up from there if needed.

In addition to the setup above, some like to use small sandbags (less than one pound) to place on the tops of their feet. Here’s how to get into this pose–and no, there isn’t a more graceful or visually appealing way to do it. Sorry. But it’s worth the ugly and awkward!
I hope this helps. Y’all enjoy and take good care of yourselves!