Heads up! There is an updated version of this post here that shows our most recent installation. Both posts have great tips for your drip irrigation system.
The metro Atlanta area has some insane droughts and heat during the summer. I don’t particularly mind the heat but my garden does. Last year’s drought meant that I spent 30 minutes in the morning and 30 minutes in the evening watering the plants every. single. day. That is a HUGE waste of my time and an inefficient use of water.
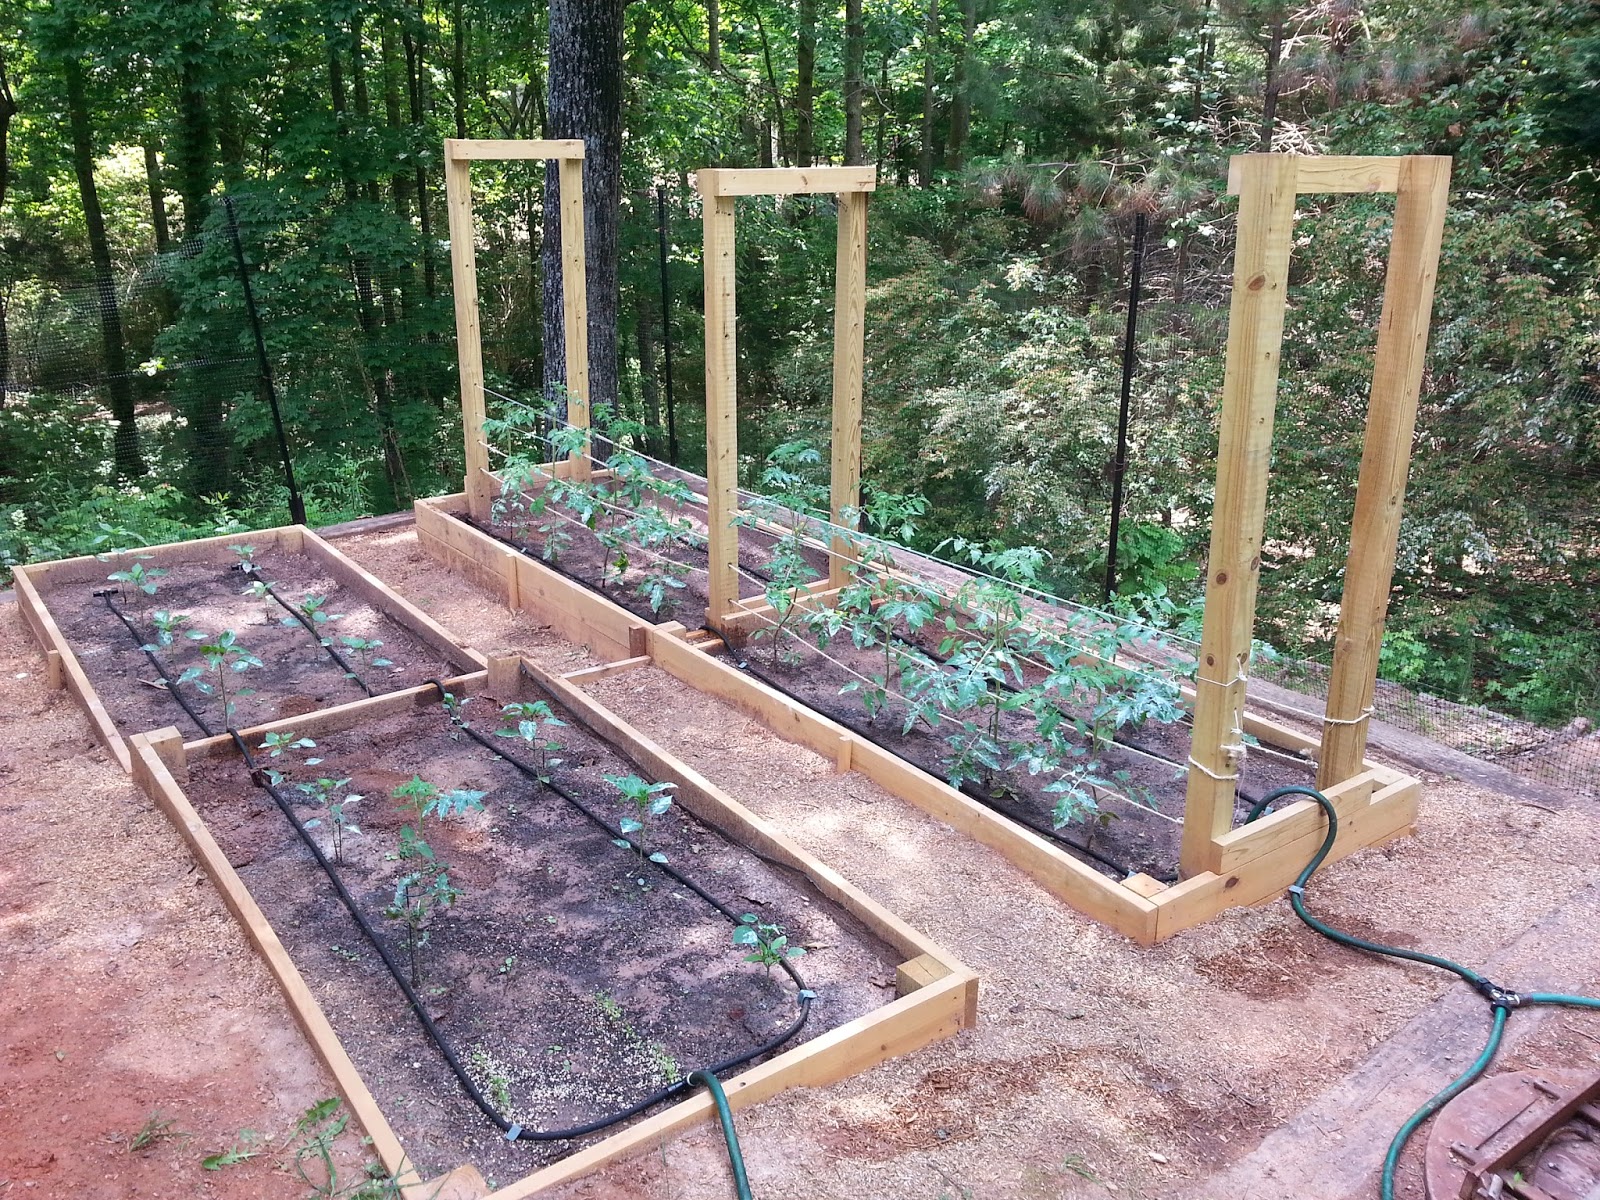
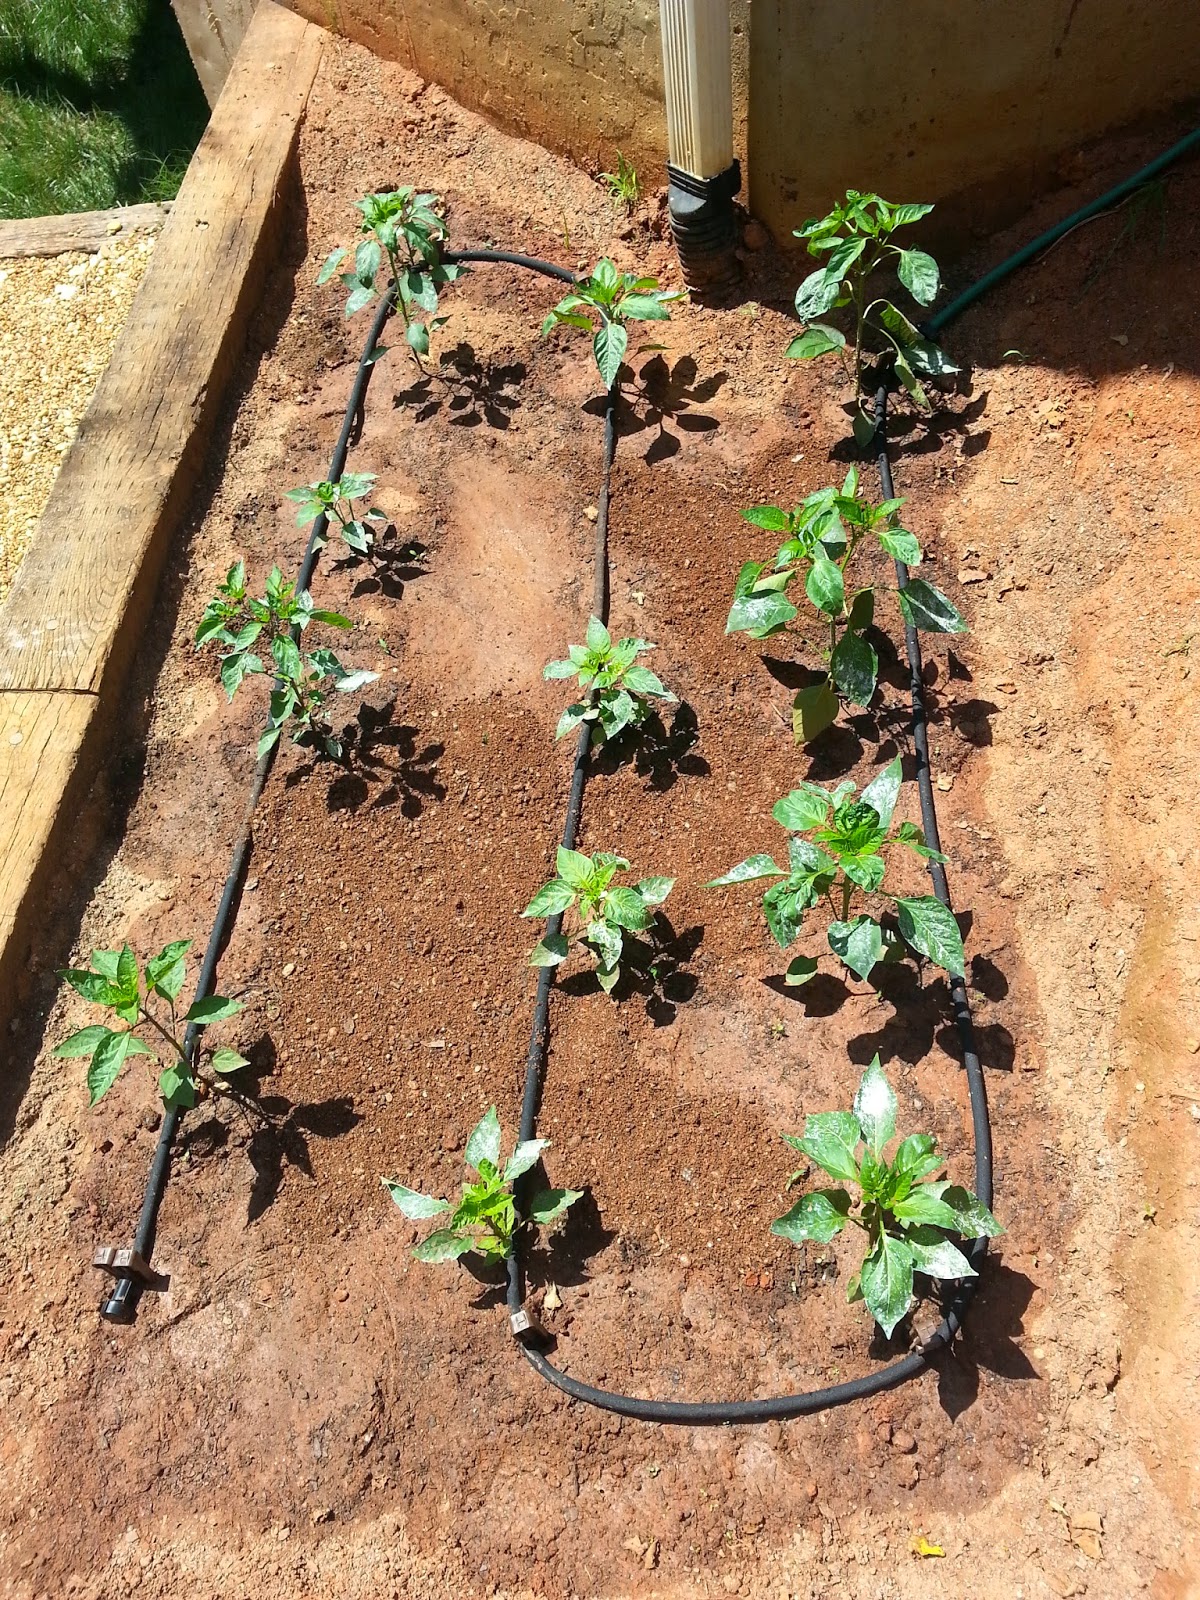
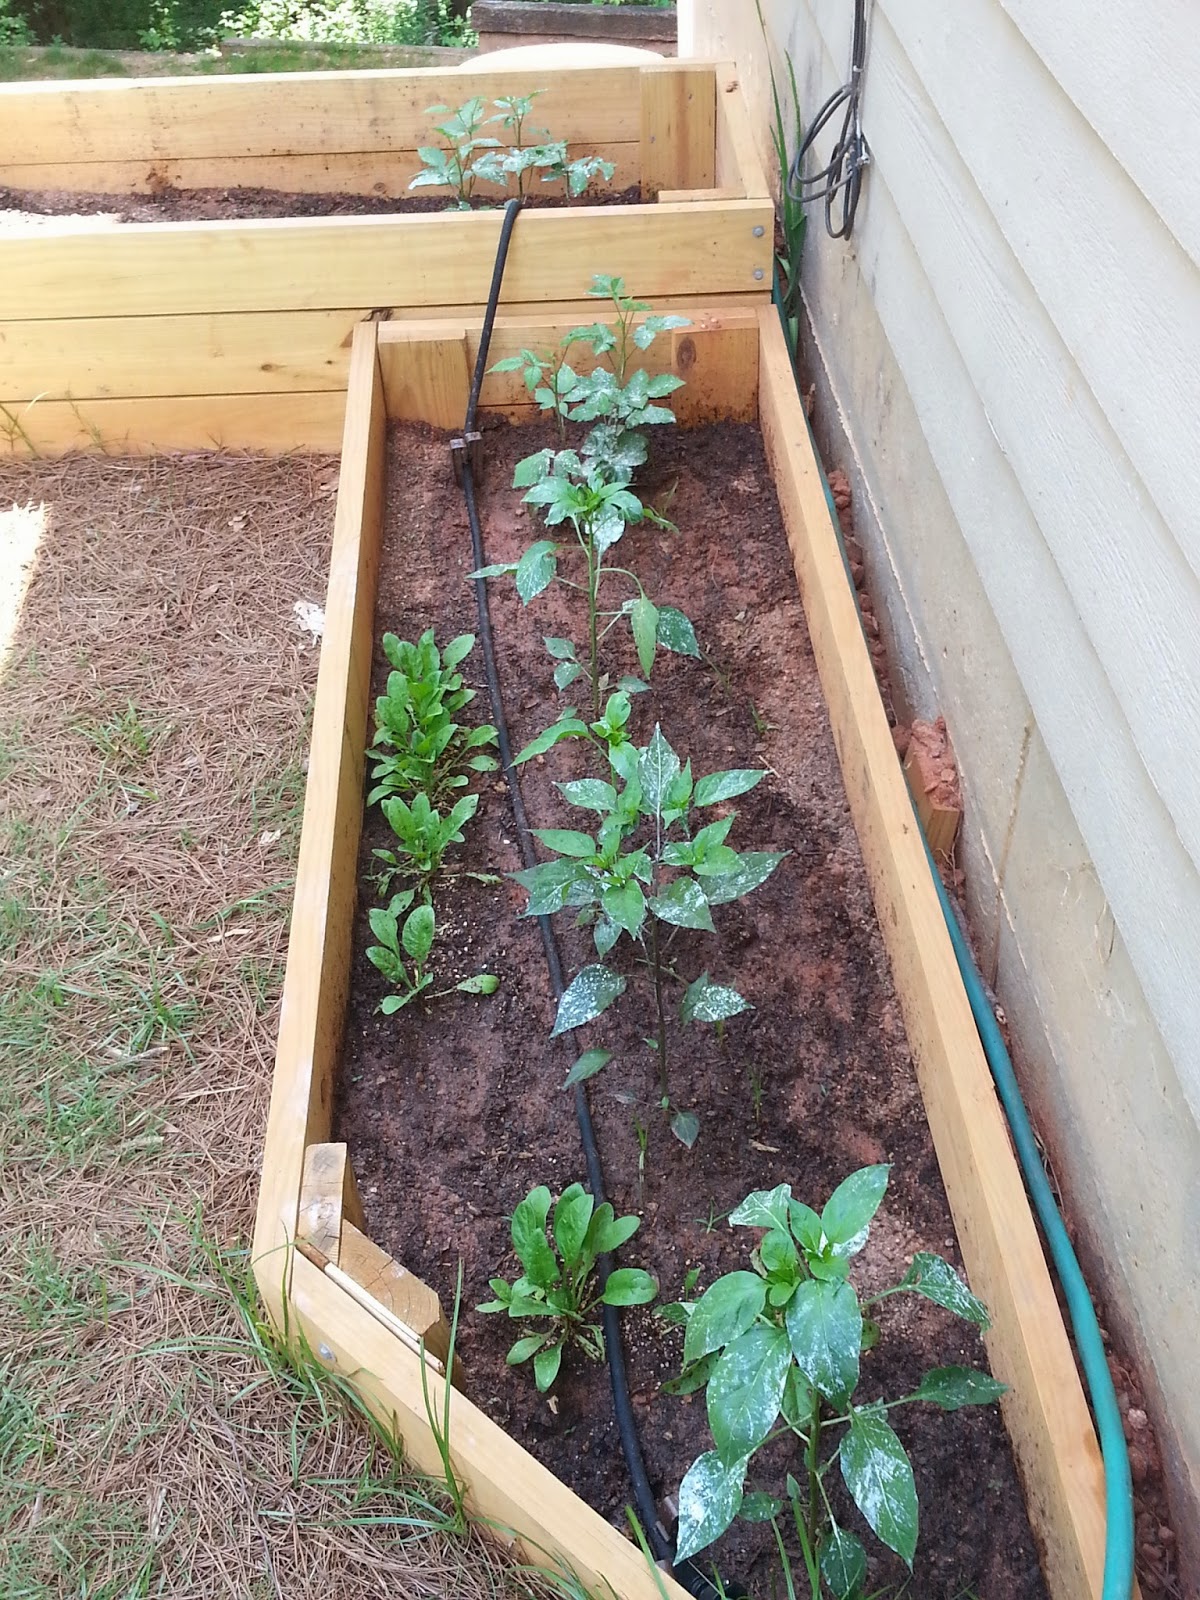
Since my garden spaces are spread throughout the property and awkwardly shaped, I couldn’t set up the sort of automatic sprinkler that you would see in front lawns. My husband and I opted for a soaker hose irrigation system that is set on timers.
Getting Started
The soaker hoses themselves were inexpensive. We got 100 feet for $20 at Home Depot. The multi-zone timers were the most expensive at $30 each. (We needed two.) The the little connectors and hardware were about $4 each. We needed several of those because our garden boxes are unique shapes.
The setup is simple:
- Take the measurements of your garden beds and draw out your irrigation plan on paper.
- If you have two rows per bed, I recommend two lengths of soaker hose for each row rather than one hose down the middle.
- Cut the soaker hose to needed lengths using strong scissors. The materials is easy to work with.
- Lay out the hose segments and make sure they are the right lengths before proceeding.
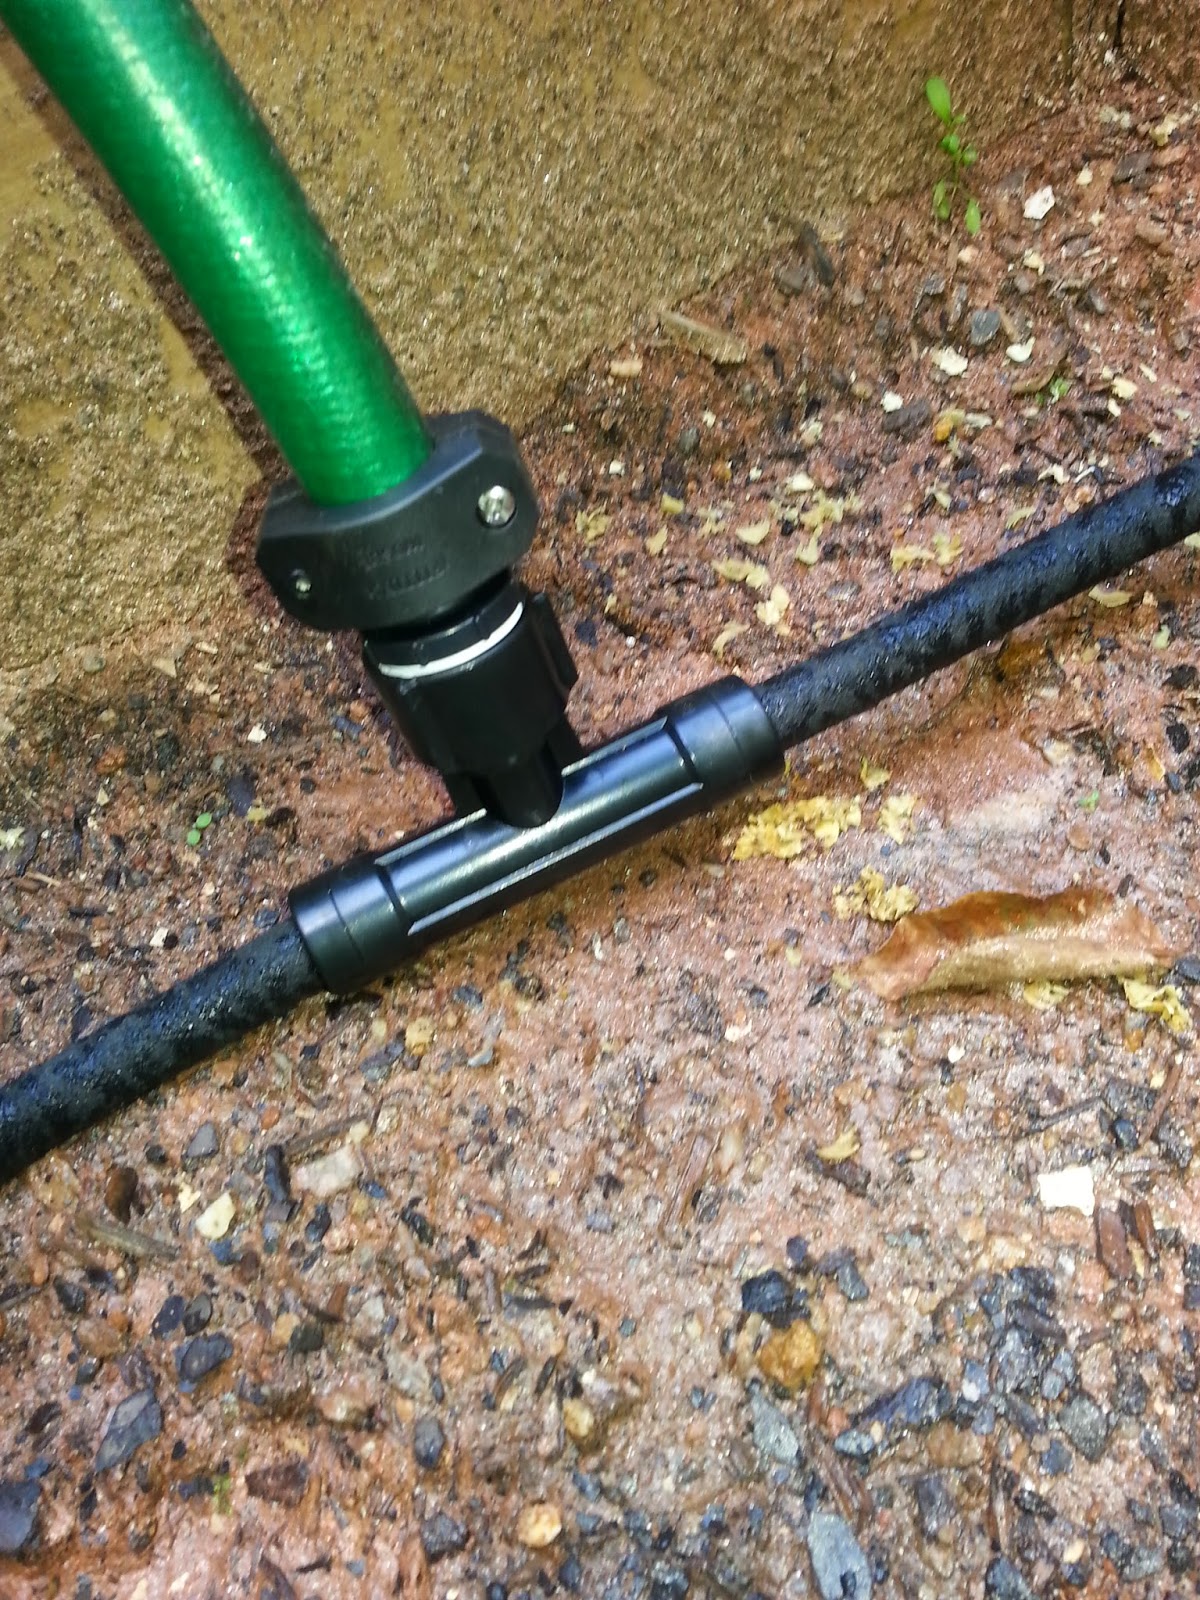
- Attach the appropriate connectors to the hose. No special materials are necessary! The hose slides into the appropriate connector:
- Males and females extend the length of your hose.
- T- and L- shaped connectors divert the direction of the hose and water flow.
- There are also terminator caps for the end of each hose.
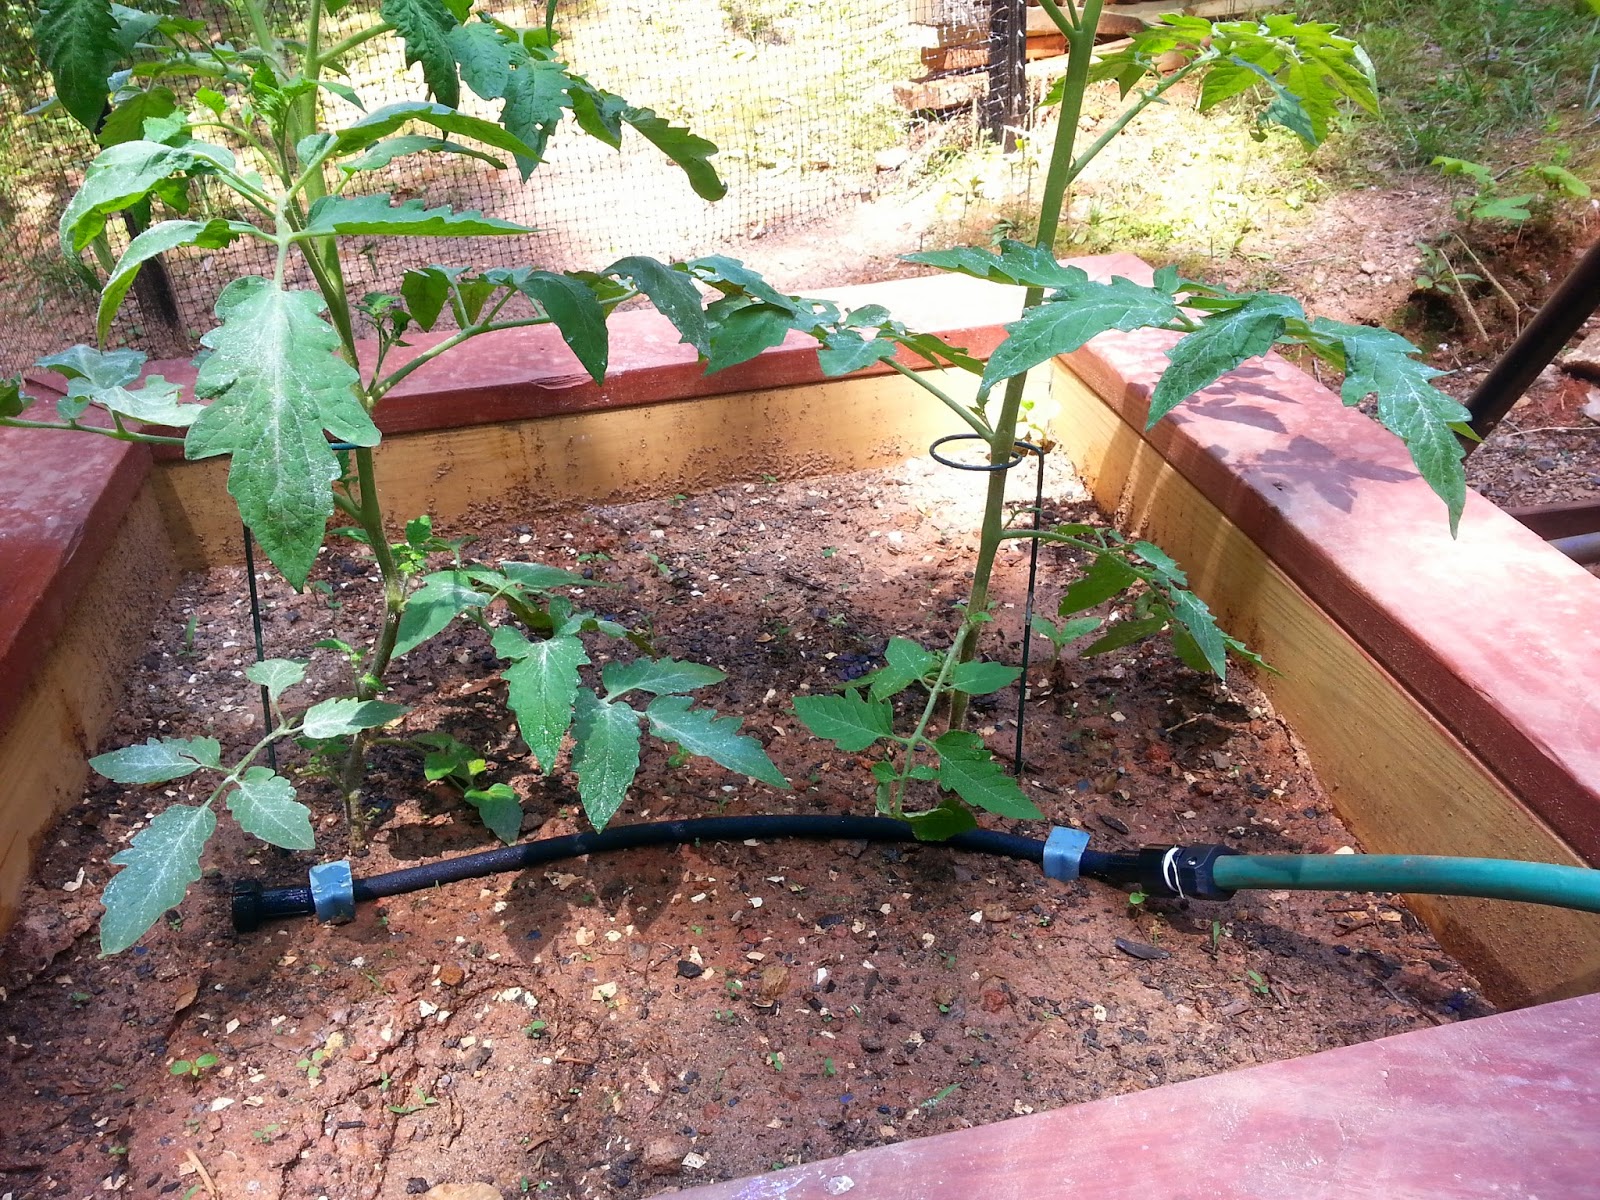
- Secure the soaker hose in place using garden staples, if needed. They prevent the hose from shifting around while you’re pulling weeds, for example.
- In the images on this page, you will see that we used heavy duty metal garden stakes instead of staples. Those are overkill. That was a waste of $25 per pack. Staples are just fine.
- If needed, connect the soaker hose to your garden hose using a harder plaster or metal hose mender. Tighten the brackets with a screwdriver.
- Got leaks and drips? They’re a waste of water and they reduce water pressure. Use plumbers tape or “thread seal tape” between the hoses and the connections to fill the gaps and stop leaks.
- Repeat as needed.
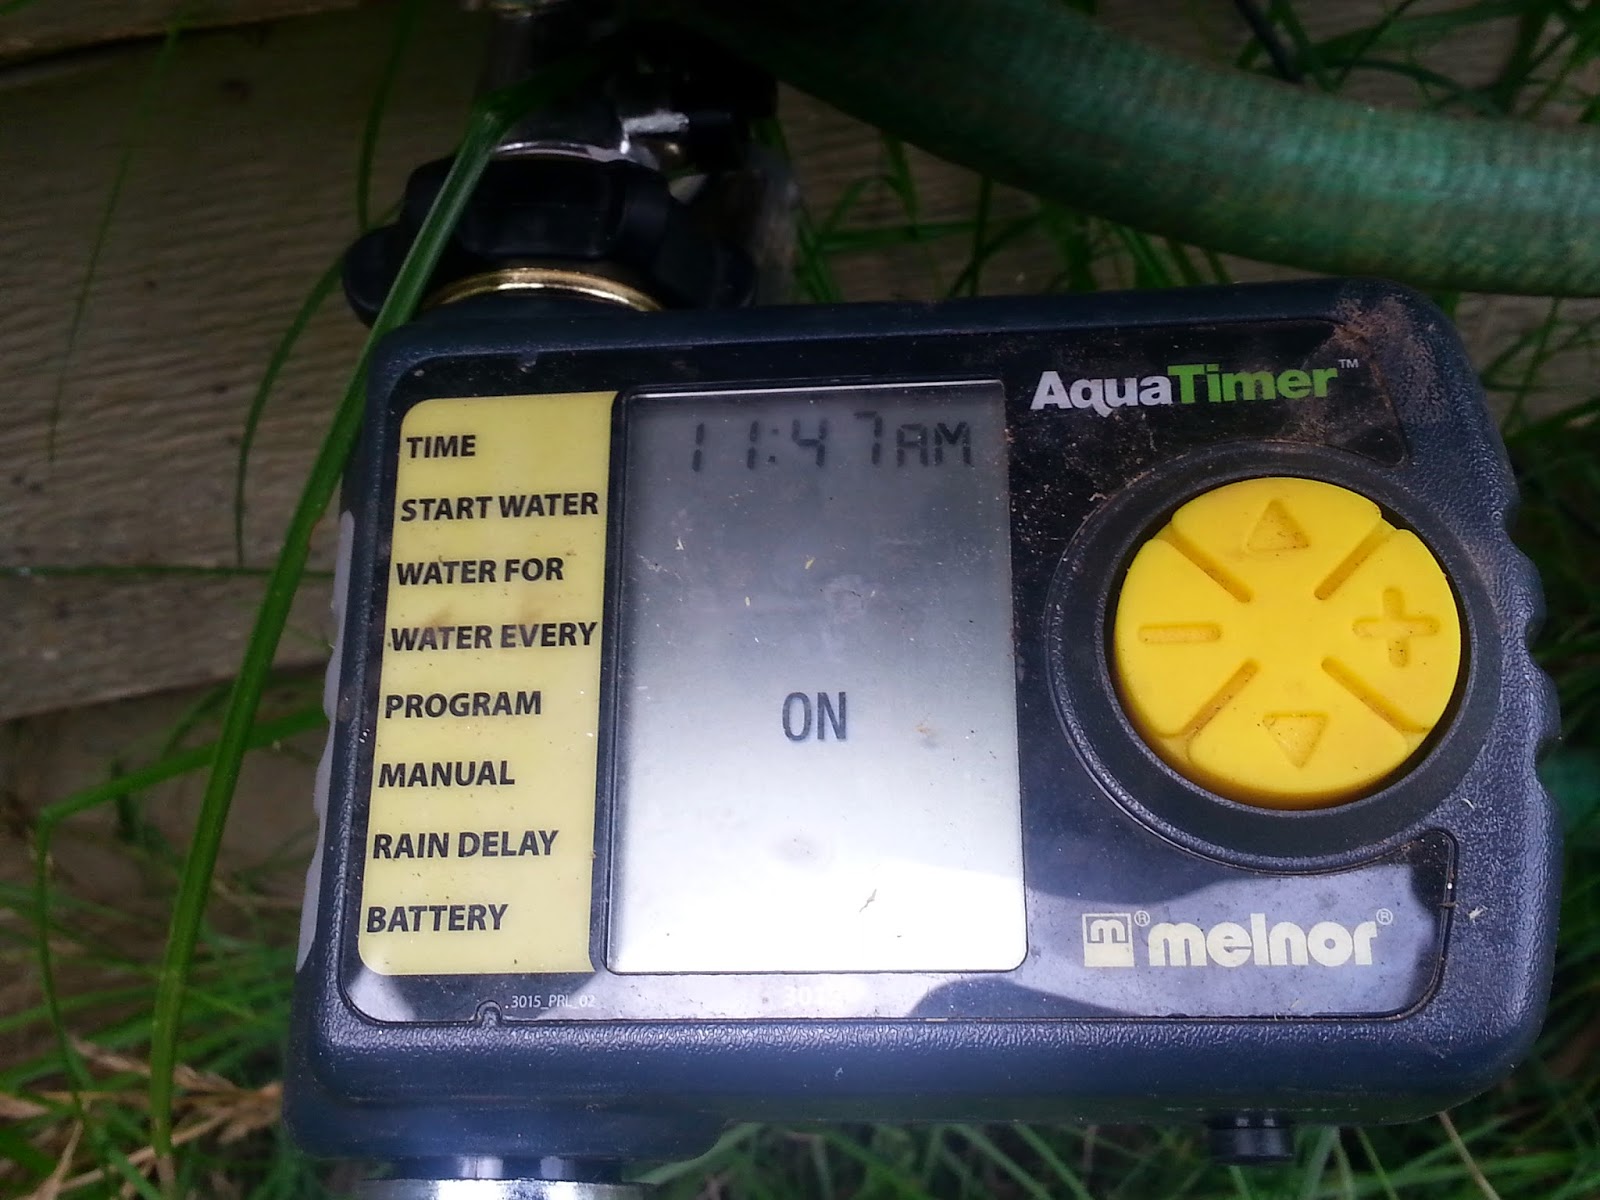
The Melnor’s AquaTimer devices are convenient and user-friendly. We have our two raised garden beds set to water at 5am and 5pm for ten minutes. On the other side of the house, the other two raised beds are watered at the same times. The garden bed with the most sun exposure gets 10 minutes of water. The one with the most shades gets only 5 minutes. With any more water than that, the shade and heat make the raised bed a comfy home for moss.
The rain delay on the Melnor is a little iffy on this brand. I haven’t figured out how much rain is required to initiate the delay. Sometimes it sprinkles and the system still turns on. Other times we seem to get the same amount of rain and the system doesn’t turn on. In any case, it does turn off after a heavy, long rain so that’s worthwhile.
My only complaint is that I wish I could set the time I wanted the water to come on instead of having to set a “water every [x] hours” schedule with predetermined intervals. Maybe a pricier model offers that flexibility? Doesn’t matter. We’ve experienced crazy plant growth since installing the water system.
Before
After 6 weeks
The tallest twine on the Florida weave is nearly 8 feet. As you can see, most of my tomato and cucumber plants have surpassed that point. The consistently moist soil helps the roots penetrate deep into the soil and spread out to promote healthy plant growth.
Costs and Savings
We got everything at Home Depot for just over $100. We probably could have cut costs by ordering parts online but it’s still worth it. With the soaker hose irrigation system in place, we can leave for vacation without having to pay someone to come water the garden. I don’t have to stand outside and water the plants for an hour every day. That’s priceless!
The soaker hose irrigation system has decreased our water bill by 9.5% compared to this time last year. I would guess that the savings would be even more if this year was as dry as last year but since we’re getting more rain, the rain delay kicks in on the timer and the system starts less often.
If you like what you’ve read, be sure to subscribe to my blog for more DIY garden hacks and updates! Details below. And remember, there is an additional installation example here.
