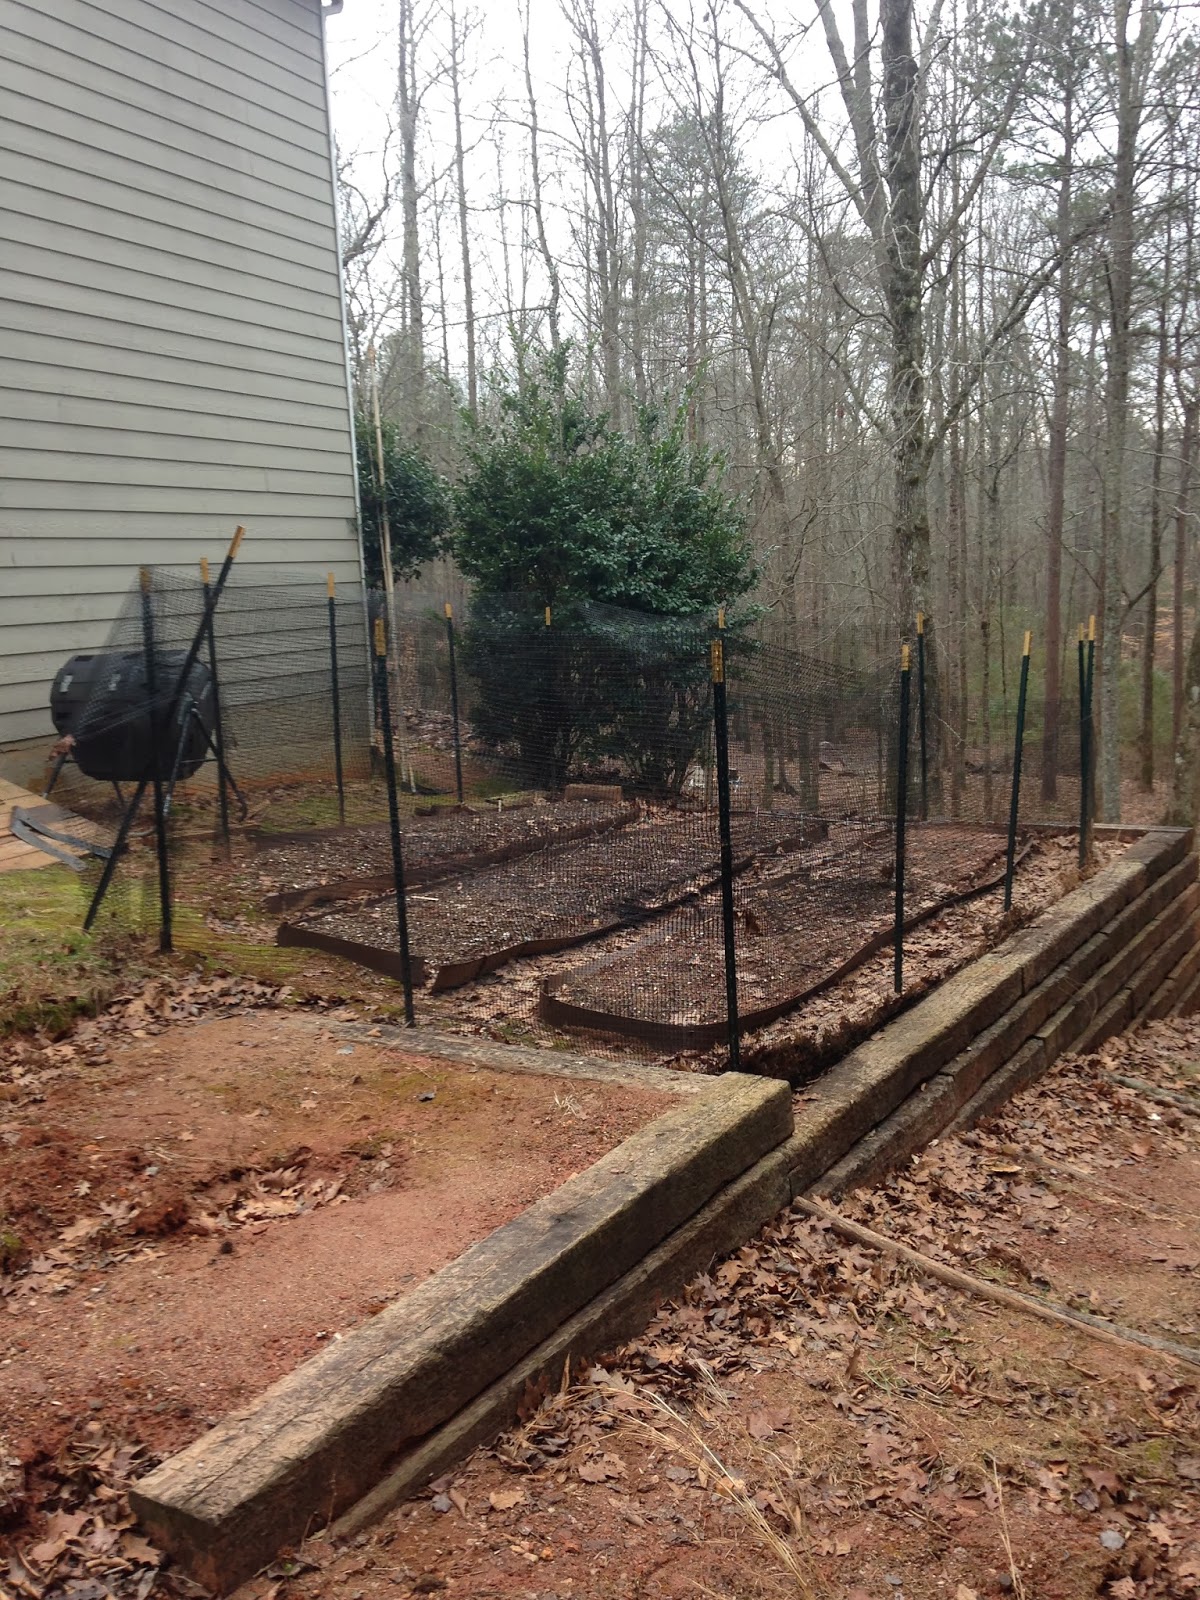
Spring is near! The chilly, gray weather outside of my window isn’t too promising but unless the globe comes screeching to a halt, spring is indeed on its way. Time to revamp the vegetable gardens!
There are a few things that we’re doing differently this year.
- Wooden raised beds in the old garden and adding a new raised bed near our garage
- Improving soil composition
- Focusing on the health and strength of seedlings
- Adding fruit to garden
So…we’ve got some work to do.
Raised Bed Plans, Phase I and II
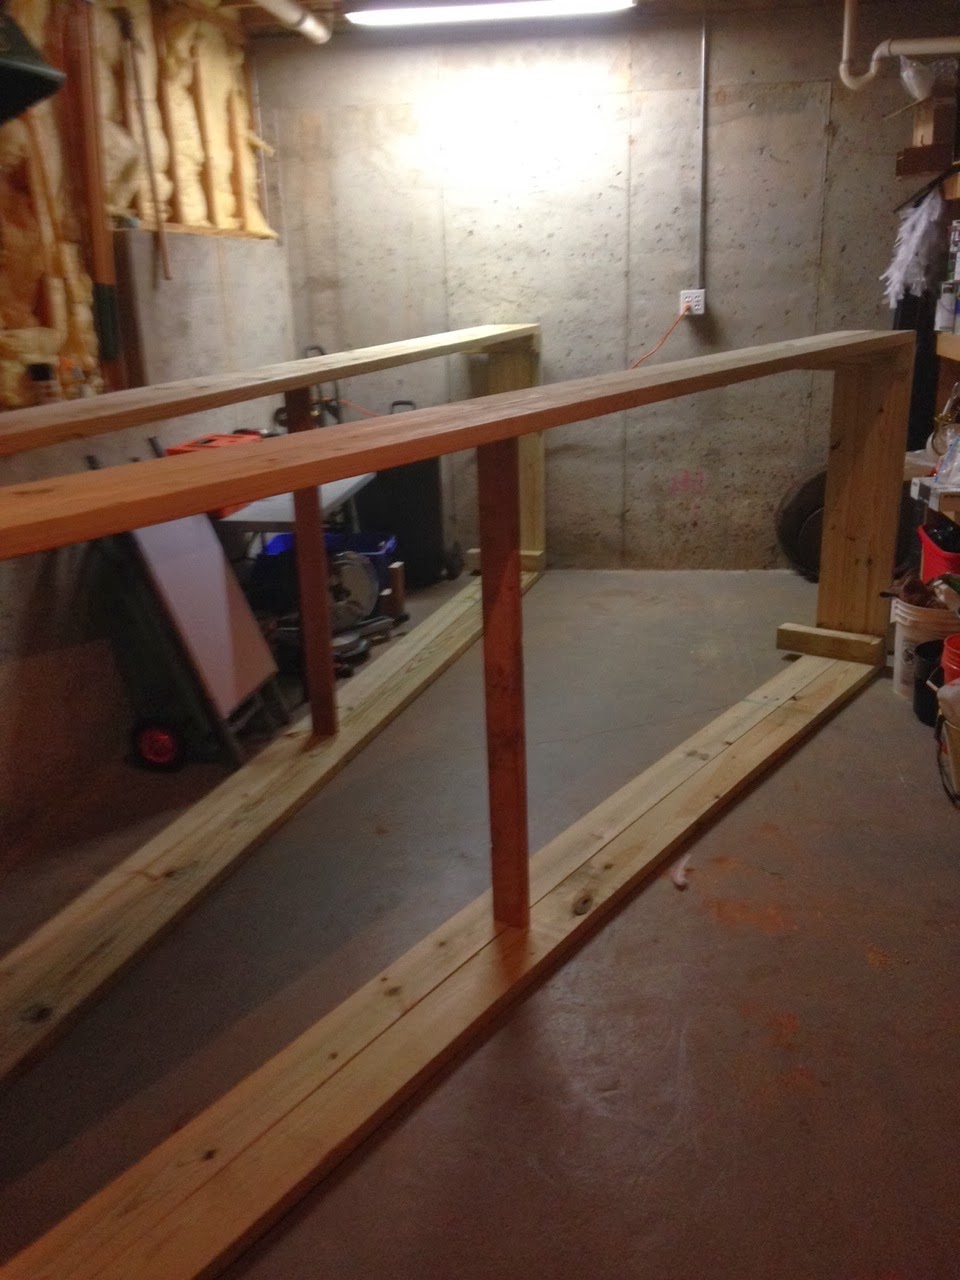 |
| Our 4′ x 16′ bed frames, on their sides |
Last year, we started raised beds made of compacted clay. Fail. This season, we’re building proper raised beds out of wood. These won’t get washed away and they look prettier. We’re also hoping that raised beds and better soil composition will promote better drainage and root health.
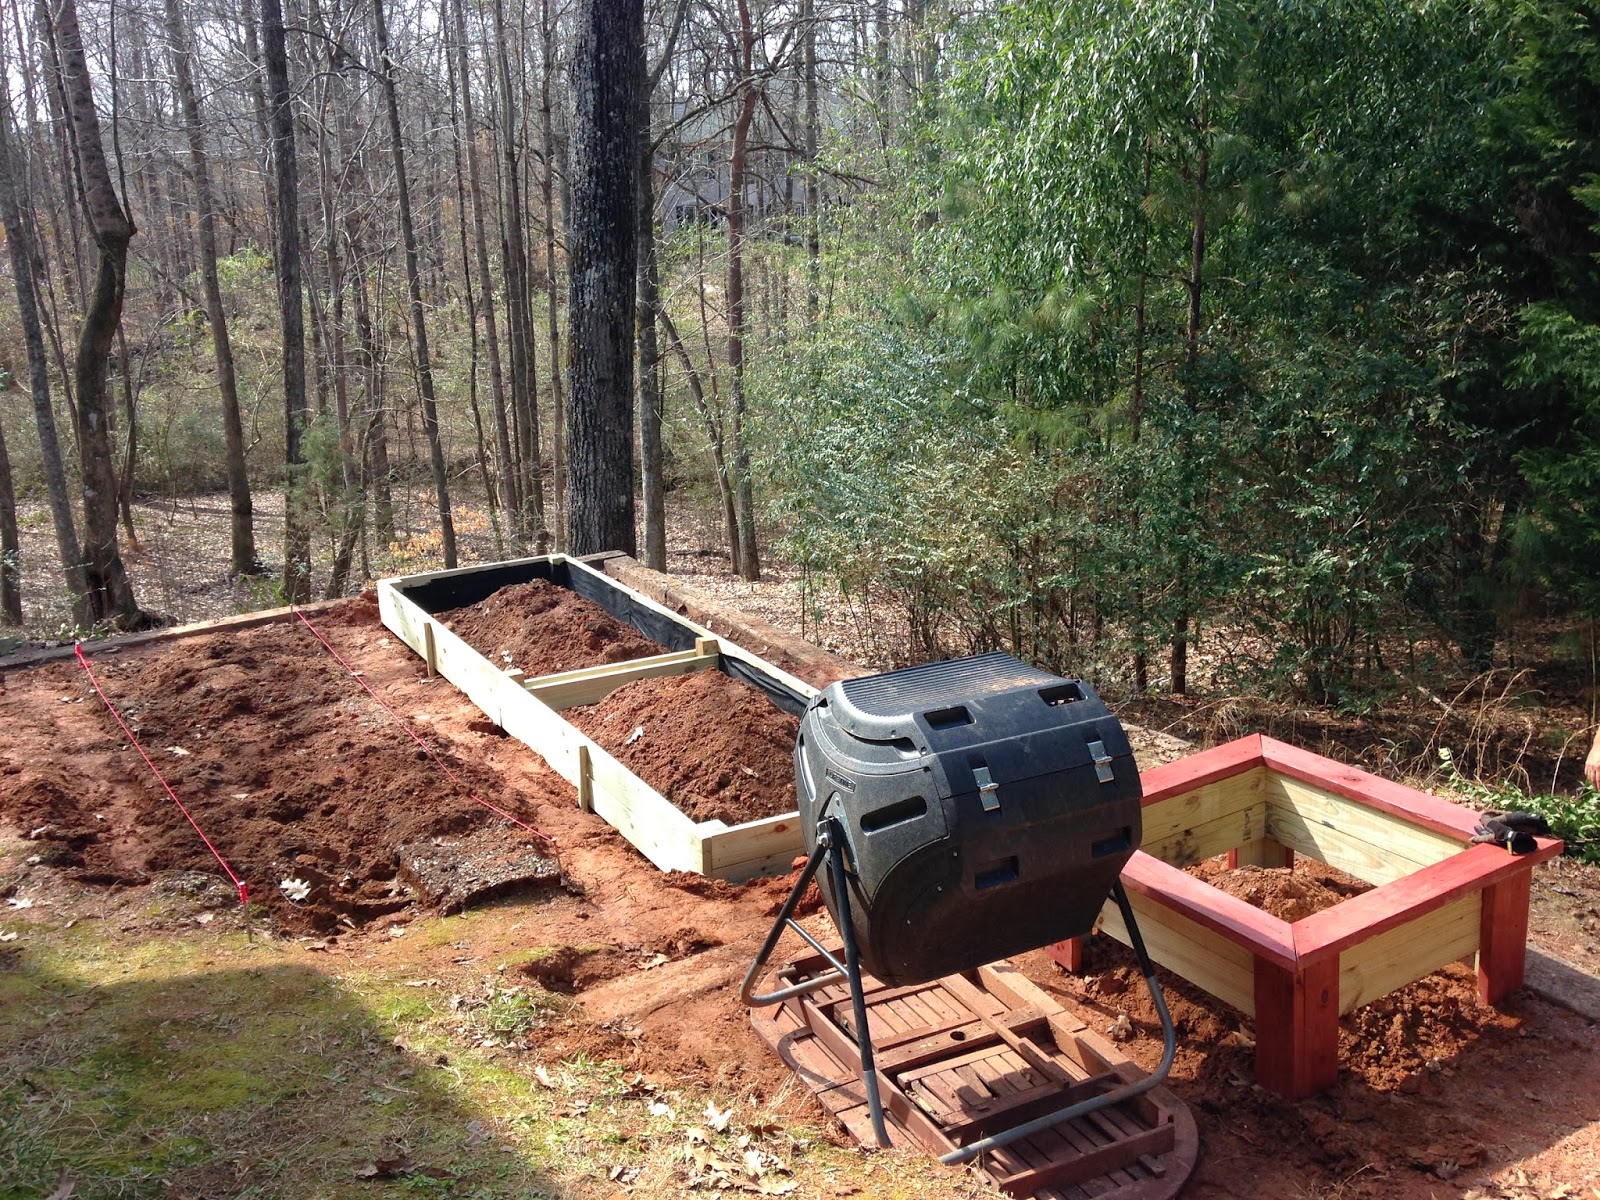
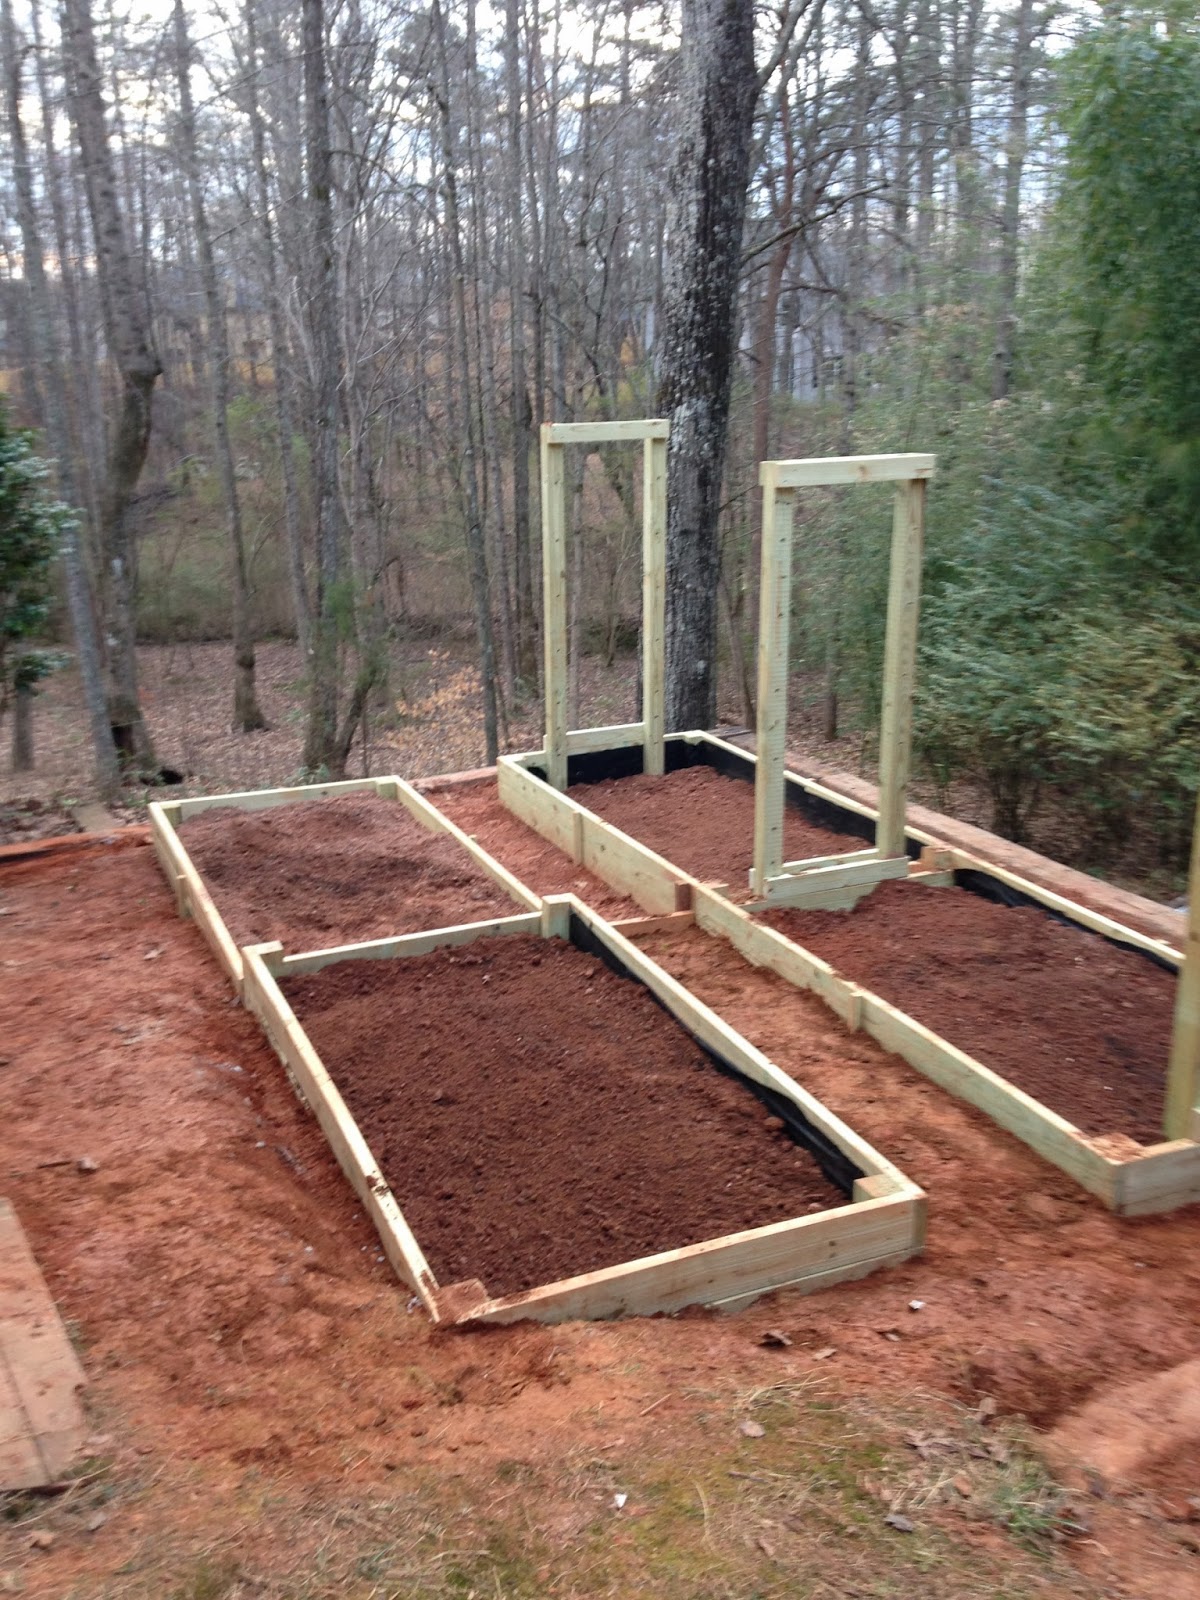
We will have two main raised beds that are 4’x16′. Those two will be 1′ deep. We’re also adding an L-shaped raised bed near the garage that has 8′ and 10′ legs, each 2′ wide. One leg of the L is 1.5 feet deep and the other leg is 1′, just for aesthetic purposes.
Though the frames could fit through our basement door, we had to cut the 4’x16’s in half so that I could help carry them out. (All the working out in the world hasn’t enabled me to lift something like that!) It turned out to be a great decision; they were easier to carry and my husband had the splendid idea to terrace two levels of one bed. That bed fits into the natural landscape better that way.
 |
|||
| Two beds installed, along with supports for tomatos. |
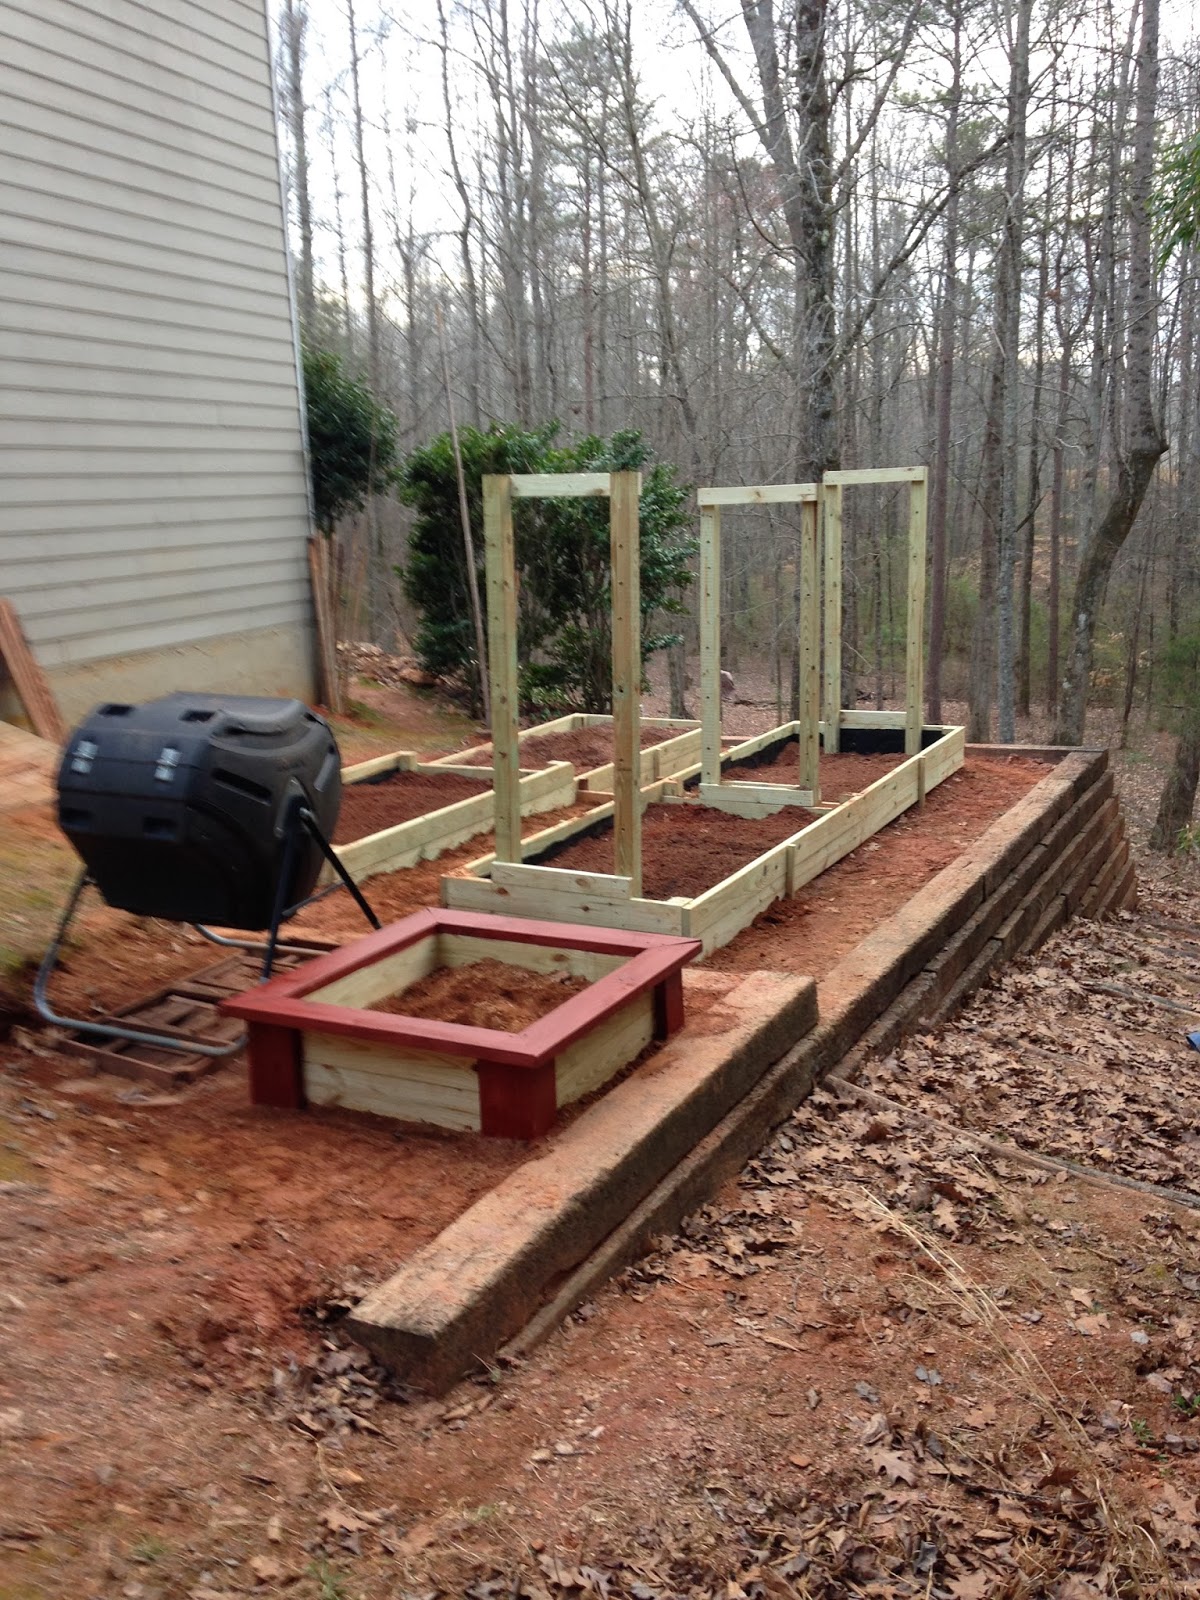 |
| Almost done! Just need to add sisal rope for Florida Weave tomato support system. |
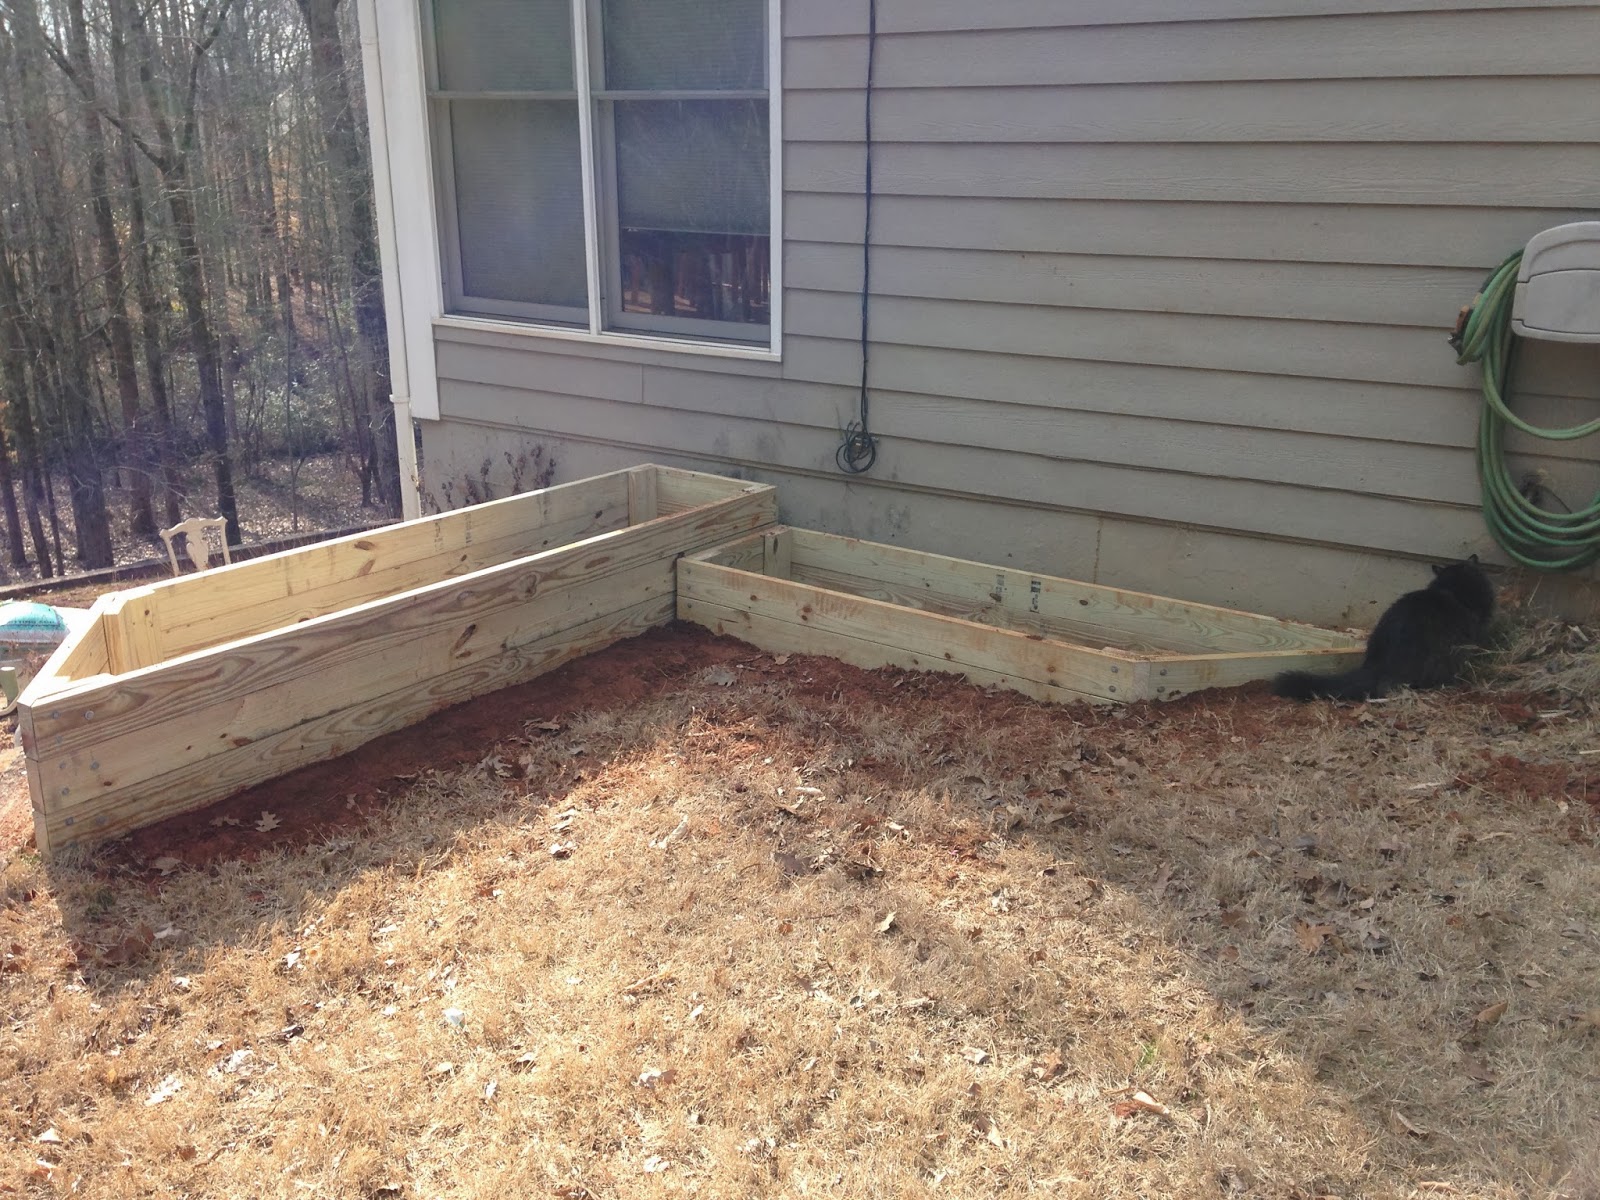 |
| This used to be a flat grassy area near the garage. It gets tons of sun so we added two raised beds for growing space. |
Filling the Garden Beds
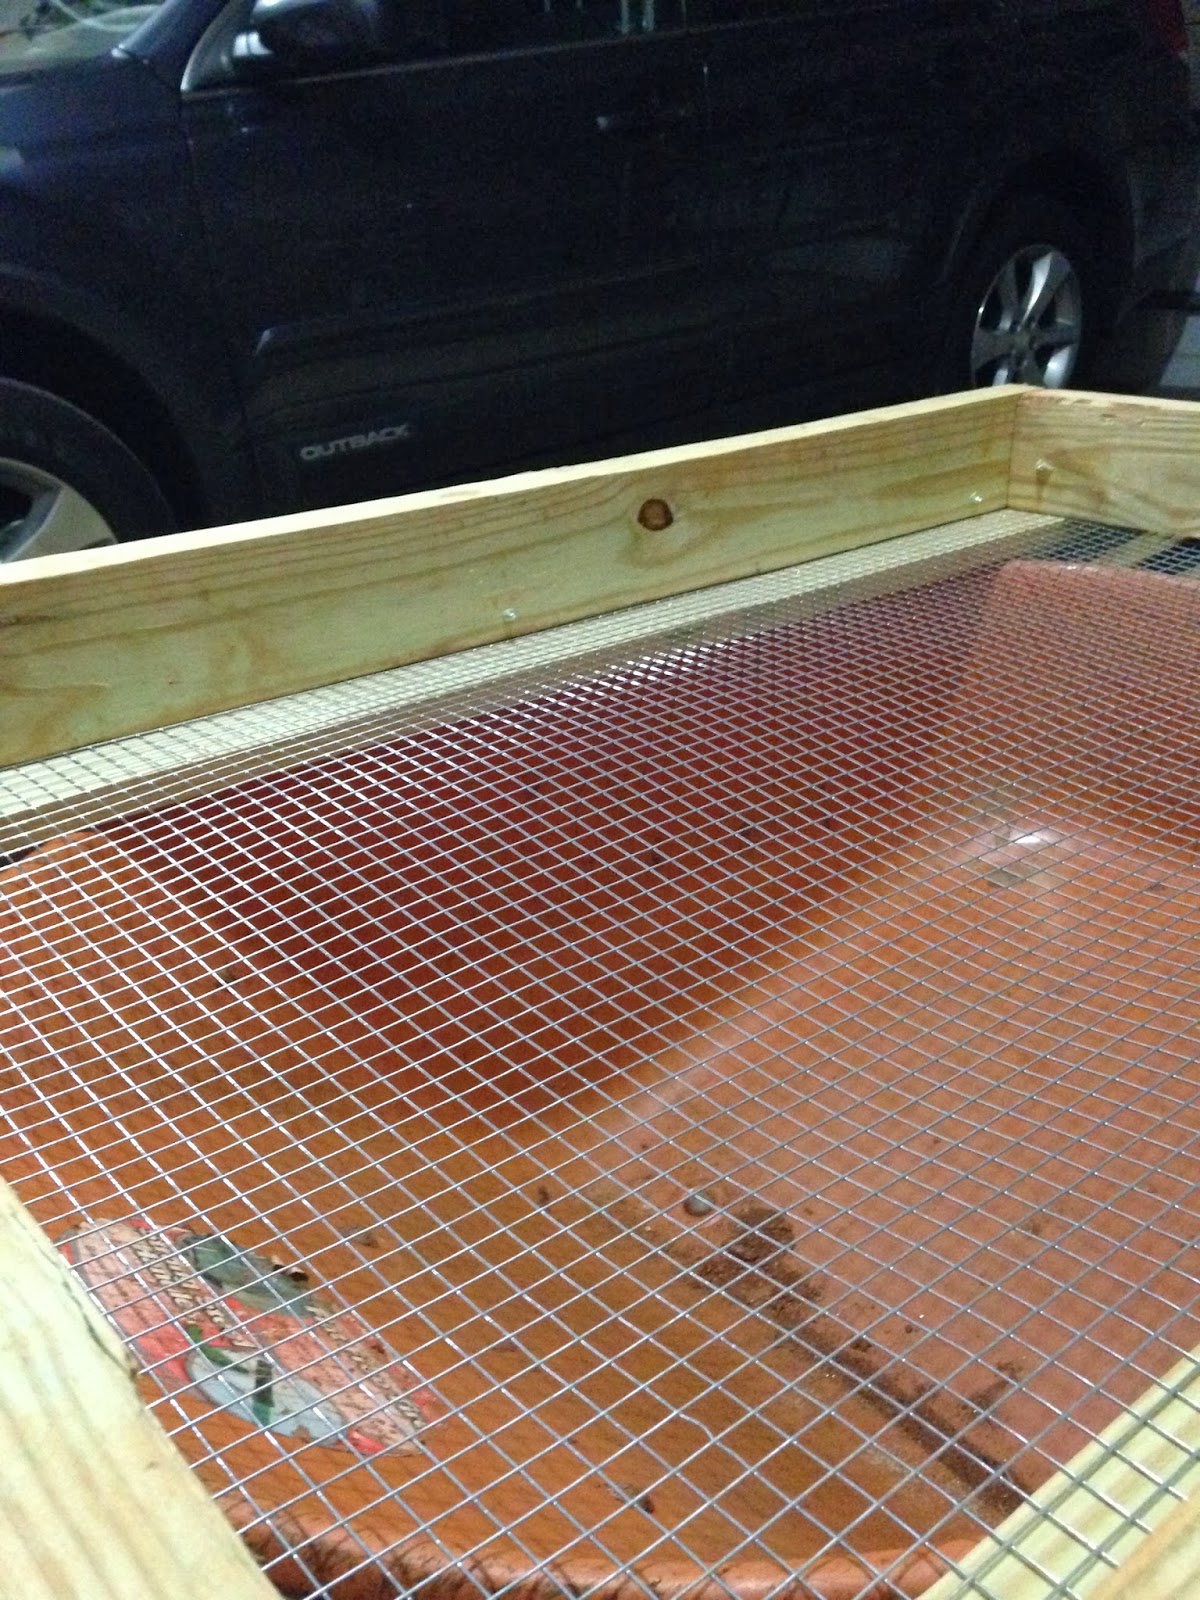
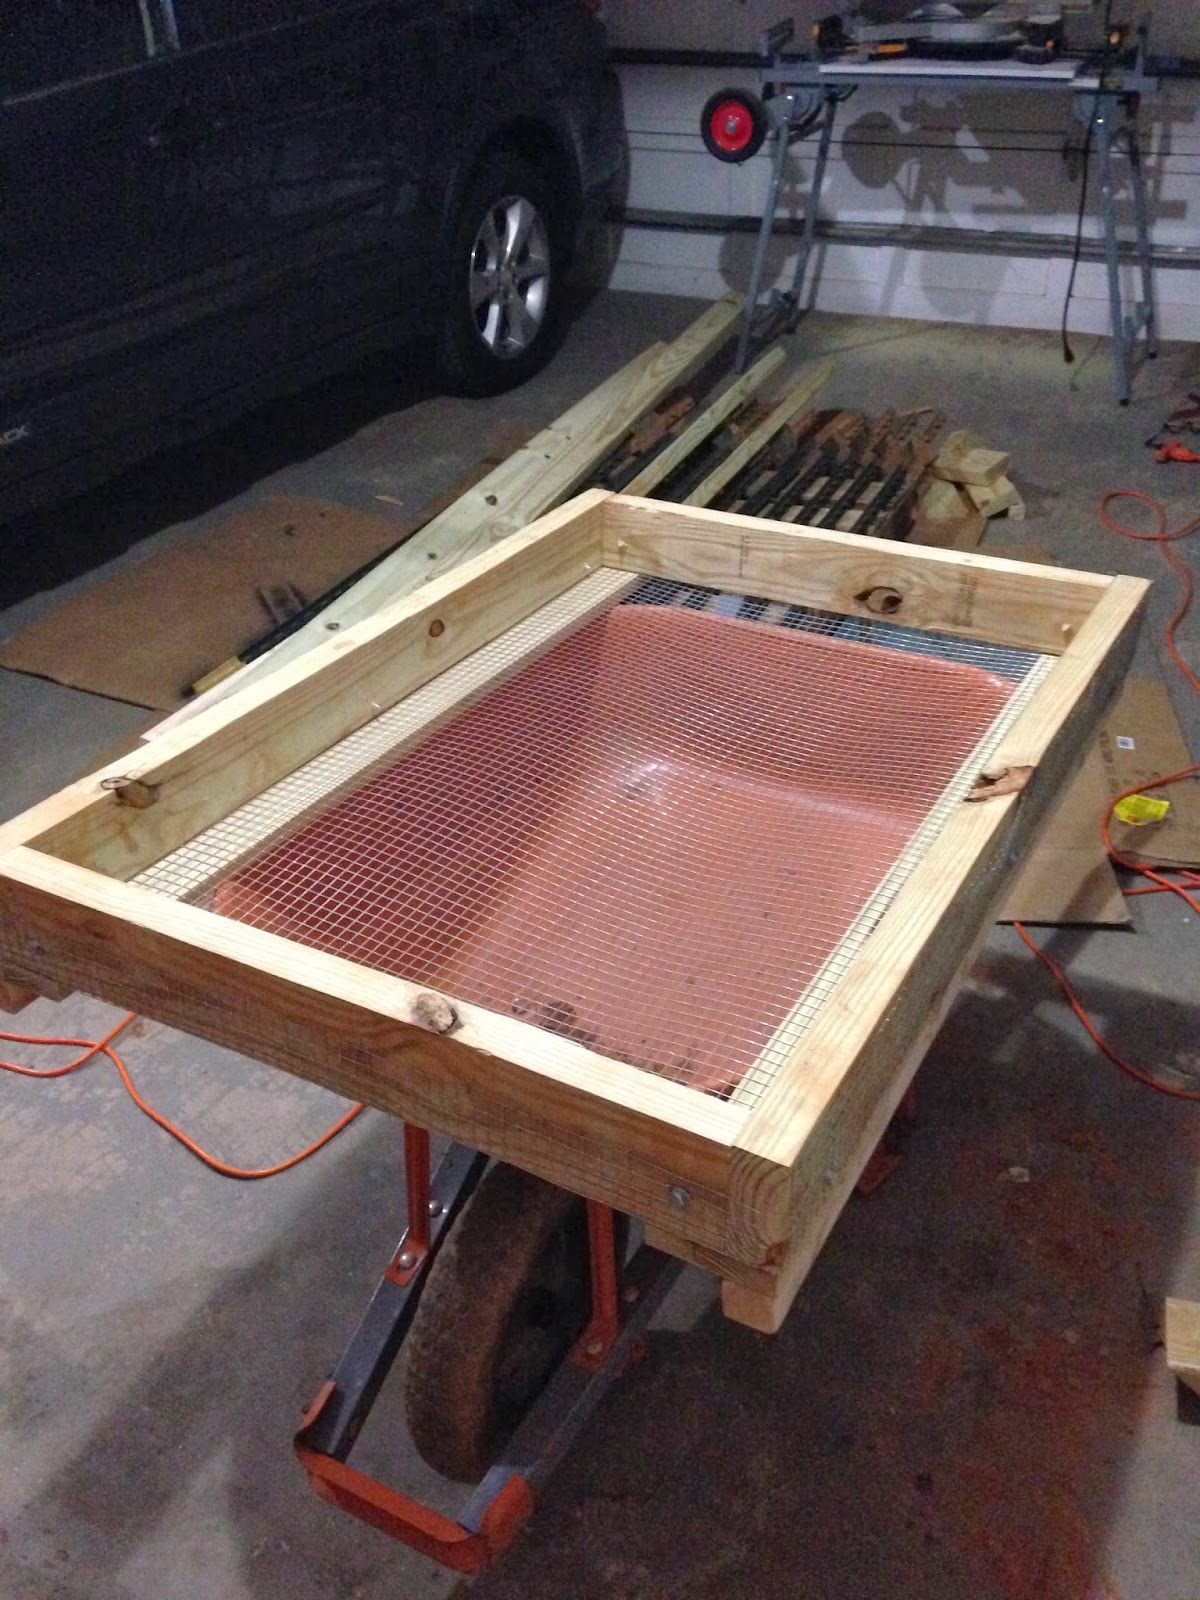
The native clay sucks. The first problem is that it is acidic, hard, clumpy clay. The second problem is that there are TONS of rocks in it, even after the hand sorting that we did last year. My husband made two sifters that we will use to get the rocks out and break up the clay. This will help us to evenly integrate the soil amendments.
The sifted clay will be mixed with homemade organic compost, cow and chicken manure, lime, Fox Farm Happy Frog Soil Conditioner and a bit of Ocean Forest Garden Soil, and Miracle Grow Organic Choice garden soil. To estimate, the soil will be 40% clay and 60% good stuff. We will leave 1″-2″ at the top of each bed for light mulch.
Starting the Seeds
Last year, I did it all wrong. I started the seeds in native clay, blended with a smidgen of potting mix. Most seedlings developed but they were weak. Between flash floods, weeks of drought and scorching temperatures most plants struggled to survive. Only my bell peppers and tomatoes produced anything worth talking about.
This year, I brought a Bio Dome to start the seeds. There are a few cheaper styles out there but since I’m starting seeds in full view of my kitchenette, I wanted something that looked nice. Once the seedlings can be hardened off, transporting the Bio Dome outside will be a lot easier that moving all the tiny recycled plastic cups that I had last year. (I didn’t have a rolling table.) I loved the idea of using recycled materials but the convenience and aesthetics of the dome won.
 Giving the seeds a good start in the BioDome sponges should help strengthen them until I learn to master my own seedling starter mix.
Garden Layout
I don’t have much diversity. This season, I’m aiming to master a few things, especially peppers. For one, I love them. Secondly, organic peppers are expensive so growing our own makes sense ($3-$4 each at Kroger. Ew!) The spring/summer garden will contain:
- Marketmore Organic Cucumbers
- Mater Sandwich Organic Tomatoes
- Moneymaker Organic Tomatoes
- Sweet N’ Neat Hybrid Cherry Tomatoes
- Carmen Hybrid Red Pepper
- Cayenne Blend Organic Peppers
- Sweet Rainbow Blend Peppers
- Strawberry Rainbow Treasure
- Hull Blackberry Shrub
- Sunshine Blueberry Bush
- Organic Chives
- Organic Basil
- Organic Cilantro
- Organic Parlsey
- Organic Dill
- Organic Garlic
- Spinach and lettuce
Most will be grown in the raised beds, though the leafy greens, herbs, and strawberries will be grown in containers on the patio.
Our ROI
This year, I’m keeping track of how much we spend on the garden updates. I’m going to compare that against this year’s yields, pricing out each harvest as if I’d brought it at Kroger. This will give me an idea of how quickly the garden will pay for itself.
So far, we’ve already saved money by DIYing the garden. We created 164 square feet of garden space, a compost mixing box, and two sifters. We spent $550 on building materials. We spent $165 on soil, seeds, and fertilizer. DIY Total is $715.
Home Depot sells a 80sq. ft raised garden frame for $285. Buying our square footage in garden space would be $570. Add 4 coated galvanized steel tomato and that’s $28. (Not exactly comparable.) Buying our raised beds and cages would be $598. 4’x4′ wooden frame for compost mixing would be $40. Two metal sifters would cost $302! (Ridiculous.) Add $165 for soil, fertilizer, and seeds. Store-bought Total: $1,105
On the surface, we saved $390. That’s enough to make me happy. But upon closer look, I think we got an even bigger value. Our tomato cages will last longer than the flimsy wire ones from the store. Our sifters are larger, of higher quality, and attach to our wheelbarrow. (They will get plenty of use–going to do flower gardens in the front and back yards.) We got to customize the style and dimensions of our beds. Lastly and most importantly, my husband had a great time playing with his toys 🙂 I couldn’t be prouder.
And…we’re ready for spring!
