During our house hunt, my husband and I bypassed many beautiful homes because the lot wasn’t right for gardening. I was only comfortable with buying a home when I loved the flat, sunny, spacious lot just as much (okay, maybe a little bit more) than I loved the house that was built on it.
Yeah. It’s that serious.
 Strangely, this will only be my second year with a garden. I did learn a lot in the previous season. Below is some info to help you skip our mistakes and repeat what worked 🙂 It’s a lot of planning but in most cases, you only do it once!
Planning Your Garden
LOCATION
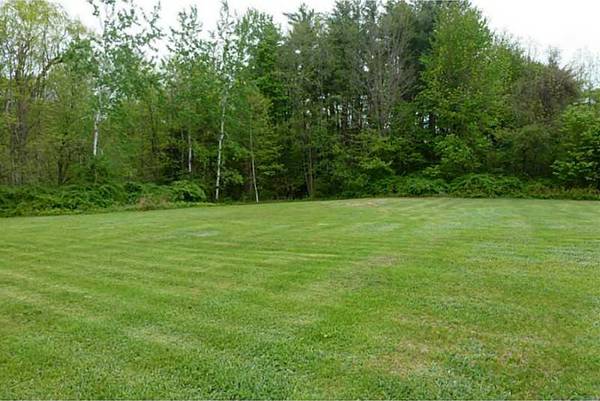
Sunlight is one of the most important factors when choosing a site for your garden. Many of the vegetables that we love to grow thrive in 6-8 hours of sunlight, so we chose the side of our yard that would get the most sunlight (even though it wasn’t the absolute flattest area). You can use an app, like LightTrac, to determine if nearby trees or structures are going to cast a shadow.
With that said, try to select high, flat land for your garden. Such a site will promote better drainage. In our previous home, the gardens were on a terrace at the base of an incline. It was the best that we could do at the time but it sucked miserably. Heavy rains flooded our raised beds, washed out soil, and drowned plants. By picking a flatter space at a higher point in our neighborhood, we hope to avoid that this year.
The last factor in deciding the site was its proximity to the house. I prefer to have the garden closer to the house. It’s easy to pick a few fresh herbs and veggies and run them indoors before they begin to wilt in the sun.
Secondly, we will catch and use rainwater for our garden. The closer that we can get the rain barrels to the downspouts and the garden, the less hose we will need to run through the lawn (and potentially getting mowed over). You could opt to dig trenches to bury the hose, but in Georgia red clay that’s too much work. With the garden near the house, we will also have access to the house’s water supply as a backup. If you have access to well water, you’re so incredibly lucky! Put your garden closer to the well.
RAISED BED STYLE & MATERIALS
I recommend raised bed gardens to any gardeners in Atlanta and the metropolitan area. Georgia red clay can be a beast. It drains poorly, forms a crust that cracks in high temperatures, and clumps together hard like rocks. It’s just wretched for fruit and vegetable gardening. By creating raised beds, we’re able to treat our garden like a huge container garden. We fill the beds with compost and higher quality soil. This costs more upfront but good soil lasts quite a while. It can be replenished with compost and organic fertilizer. The yields that we got from our garden was quite impressive when compared to neighbors who grew in clay.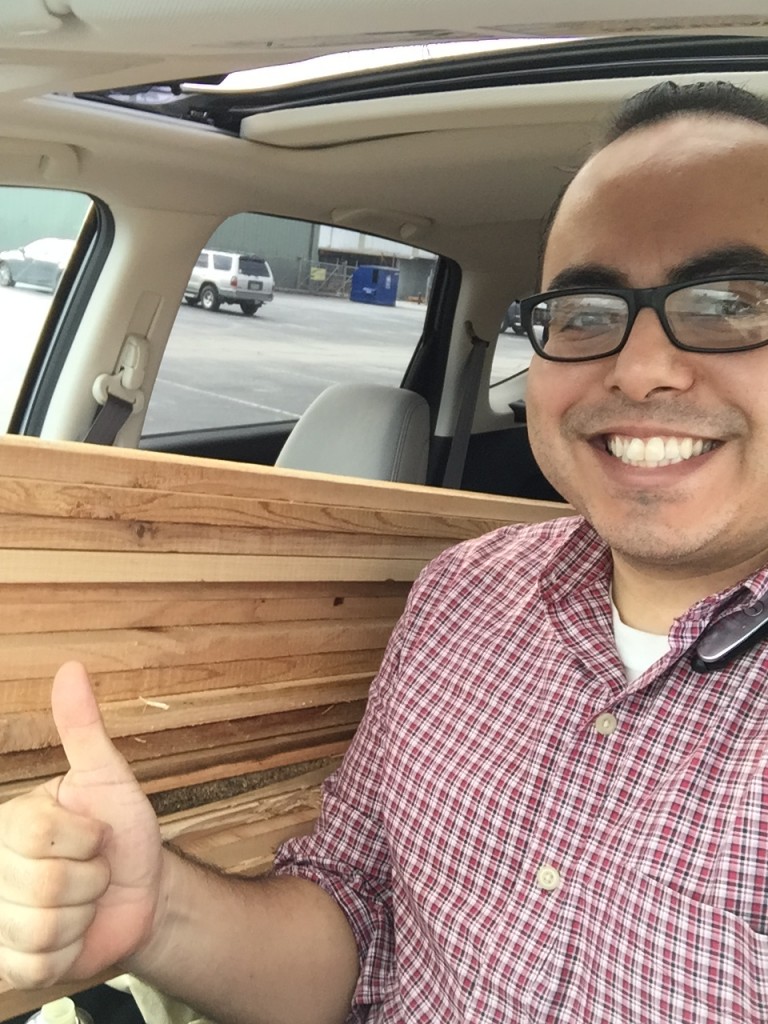
While there are plenty of raised bed compositions—brick, steel, cinderblock, mixed media—I think wood is one of the most accessible building materials. Cypress and cedar are two super awesome wood choices for your raised bed
Both of those woods are more expensive than pressure treated wood, a popular choice for many gardeners. But here is why I think they’re worth the investment:
- long-lasting woods, with a lifespan of 7-12 years depending on weather conditions
- naturally mildew, mold, and fungus resistant
- naturally pest resistant so we spend less on pest management overtime
- unlike pressure treated wood, it’s not going to leech foreign chemicals into our soil and food overtime
- both are beautiful hardwoods, without the weird greenish or yellow tent of pressure treated wood
I would’ve loved cypress but it was simply too expensive, so we opted for equally awesome cedar. That’s the hubby on the right, super excited about his cedar haul 🙂
LAYOUT
To get the most out of your investment, optimize your garden space. Vertical designs will help you get the most out of your space. Those designs may require more engineering know-how and time than you have available. If you’ve got the brains for it—or the cash to pay someone else to do it—go for it.
For the rest of us, companion planting will help us maximize the use of our space. Companion planting never looks as tidy in my opinion. If that doesn’t matter, then I highly recommend it. In my first garden, I did not companion plant and I wish that I had. I will do a bit of it this year.
In any case, lay out your beds so that you have ample room between each raised bed. Give yourself enough room to:
- Kneel between the beds. This will require at least 2 feet for most people.
- If you do not plan to pave your walkways, you will also want to leave space to mow the aisles.
- If you use a wheelbarrow, make sure it can fit between the aisles.
SECURITY
Lastly, don’t forget security! If you live in an area with squirrels, rabbits, deer, and other hungry mammals, you will want to create a plan to protect your plants. Choose deterrents rather than anything that hurts the animals. We can’t blame them for being hungry…and the food is outside.
If you can build a gigantic greenhouse, awesome. You’ve mammal-proofed your garden unless your local raccoons can open doors. Don’t put it past them.
Otherwise, here are some pointers. I’ll write a full post with more details about this later.
- Deer– They can clear heights of 6-8′. Consider tall fencing. Be sure that the fencing is far away enough from the garden beds to not cast a shadow. If fencing isn’t an option, at least integrate deer deterrent plants throughout your garden and around the perimeters.
- Rabbits– Metal mesh at the base of the beds will let your roots grow and keep rabbits from burrowing under and into your beds. Any sort of top can keep them from hopping in. In Georgia, rabbits don’t hop as high or as aggressively as you might think.
- Squirrels– Good luck. If they want your food, it’s theirs. Fortunately, we didn’t have any noticeable problems with squirrels eating tomatoes, cucumbers, sweet peppers, hot peppers, or field greens.
- Birds– Your plants need sunlight and rainwater (all from overhead) so keeping birds out can be tough. Consider a mesh-like top (plastic or lightweight metal) for fruits and veggies. The material can drape over the plant—which is ugly and less effective because birds will sit on it and stick their beaks through—or prop the material up so that it is raised away from the plant. The latter is prettier and more effective but will require supports. Supports mean additional cash and time if you’re DIY-ing it.
OUR GARDEN PLAN
It’s a lot to consider! But it’s so worth it.
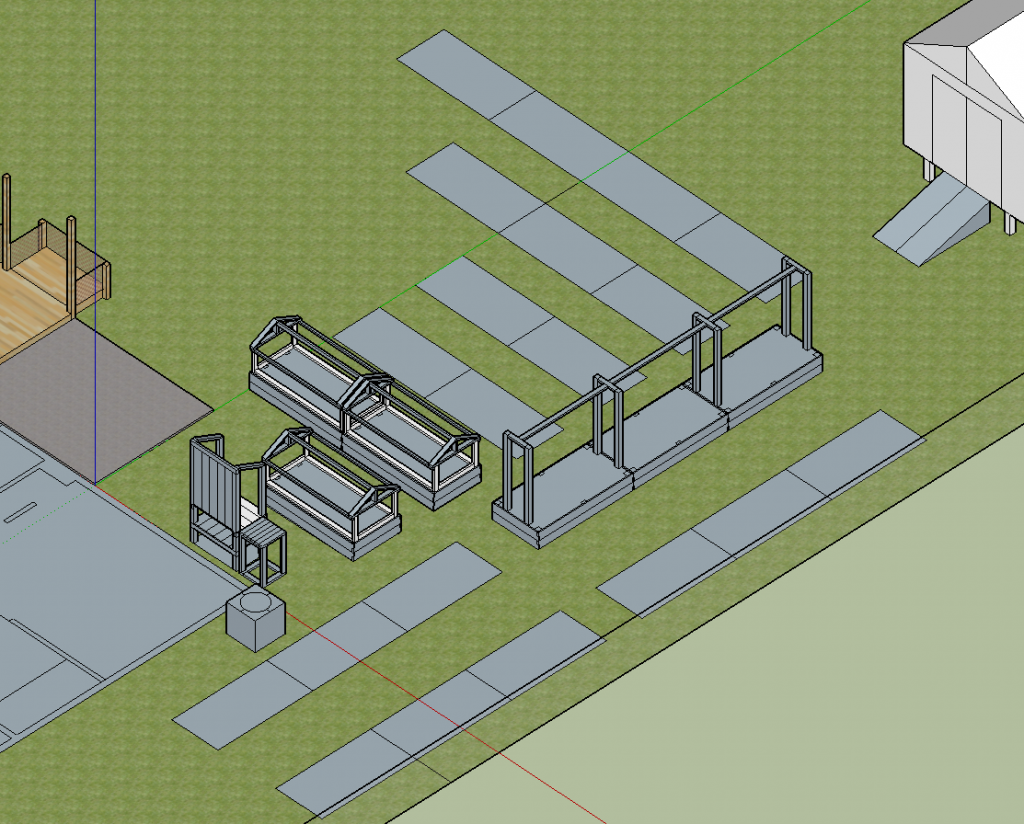
Below is what my husband and I came up with in SketchUp. We are only starting with 6 beds this season, each 4’x8′. The additional gray rectangles are the beds we will add in the future. The estimated cost is $54 per bed. It would’ve been $74 but we got a discount on some planks because they were flawed (which won’t matter for our purposes outside).
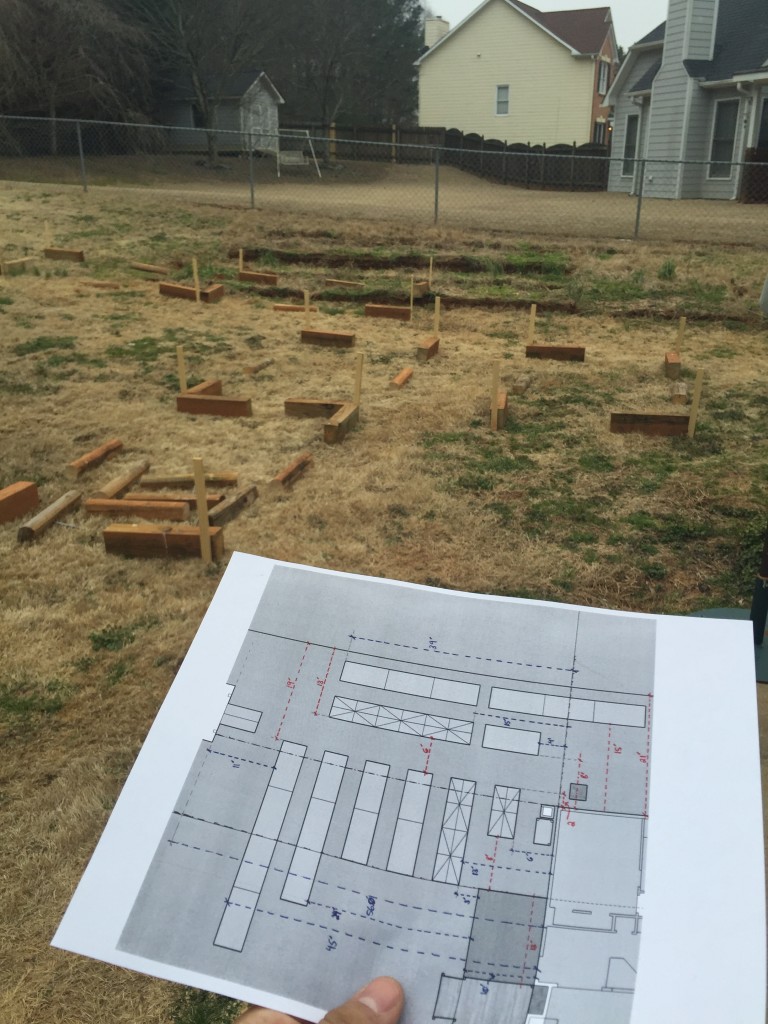
If you will have a larger garden, we recommend staking out the layout. Try using two points for reference for improved accuracy. That way, you can ensure that your measurements are correct before you put any backbreaking labor into digging.
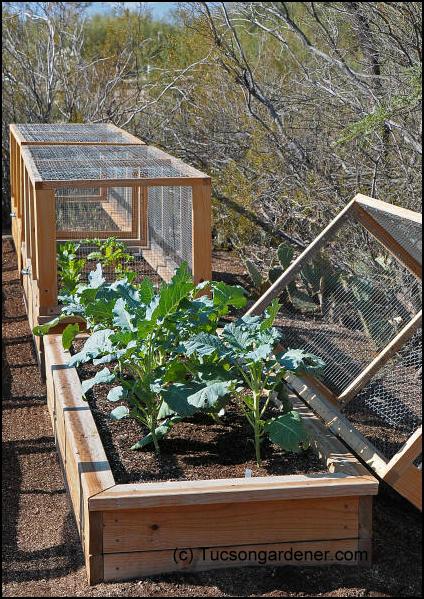
The three beds that look like tiny houses will have metal mesh tops. I will plant greens, peppers, and other short plants in these beds. The tops will open up on hinges so that I can easily access the plants but rabbits and other critters cannot get in. (Or at least they will have to work harder for their meal). These tops, which are mobile, will cost $27 each.
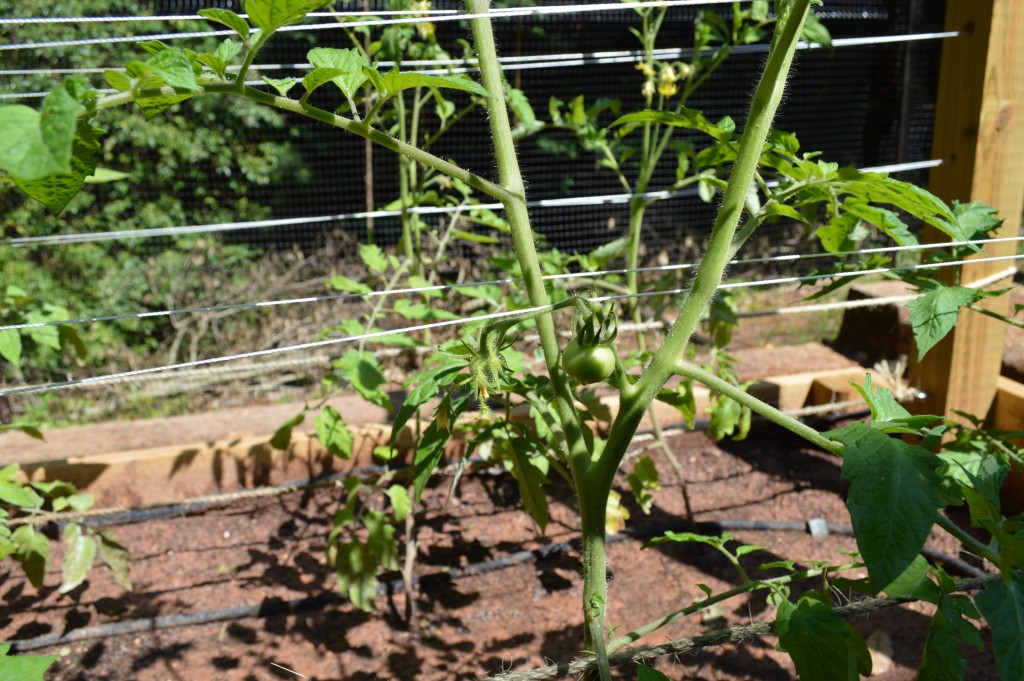
We will also have three beds with support structures that rise 6′ from the bed. These will support our Florida Weave for our tomatoes, cucumbers, and other sprawling, climbing plants. The structures cost $32 per bed.
The combined cost of the six beds is $501, totaling 192 sq.ft. That’s about $2.60 per square foot. (These costs exclude tools, many of which we already have from last year.)
If our yields are anything like they were last season, we will easily recoup $3 worth of vegetables from each square foot in one season. The garden beds should last about 10 years, offering two growing seasons each. So yeah, $500 sounds like a lot up front but it’s a worthwhile investment.
I am an organic gardener living about 20 miles from Seattle, WA. I grew up on a small – about 5 acres used as garden – organic farm near Houston, TX. WOW! What a difference in gardening techniques and work. In Texas, we fought just about every insect known to inhabit gardens, while in Washington I rarely see insect pests. For the ones I do see, I have learned how to trap them so they don’t become a problem. I am, however, plagued with four-legged pests – mostly deer. I learned this year that they LOVE peaches. But they usually don’t eat a whole peach; they just take a couple of bites, then leave the ruined fruit behind. Maybe they should have waited until the fruit was fully ripe! They also discovered my small kiwi vines and did a little pruning; they also removed some small branches from my cherry trees. The deer deterrent sprays work (sometime) but next year I’ll have more barriers. Trouble is, I think they’re coming in from the neighbor’s yard.
Next year, we’re moving to another location where I will TRY and establish a garden as well as a very small orchard. I know it will be difficult because our 5 acres is on the side of a hill, next to a state park – the perfect haven for deer, raccoons, and other fauna, including bears! I guess I have a lot of work ahead! Hope the bears don’t like kiwi fruit.
I think you’re in luck. I don’t think the bears will recognize kiwi as food but…let me know if they surprise you!