In previous posts, we outlined a few good pointers for selecting the site, design and materials for your garden as well as how to start your garden from seeds. Now we’re picking up with the details on constructing DIY raised garden beds and filling them with nice, healthy soil.
The Boxes
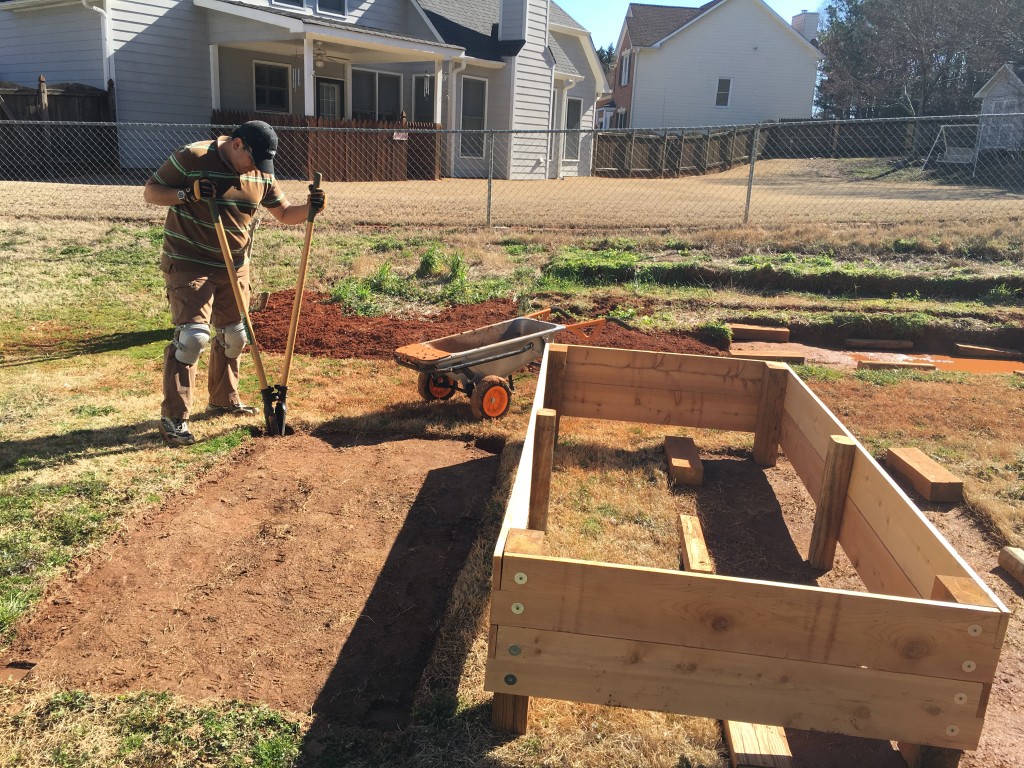
First, Alejandro created the outline of the raised beds and leveled the ground beneath them.

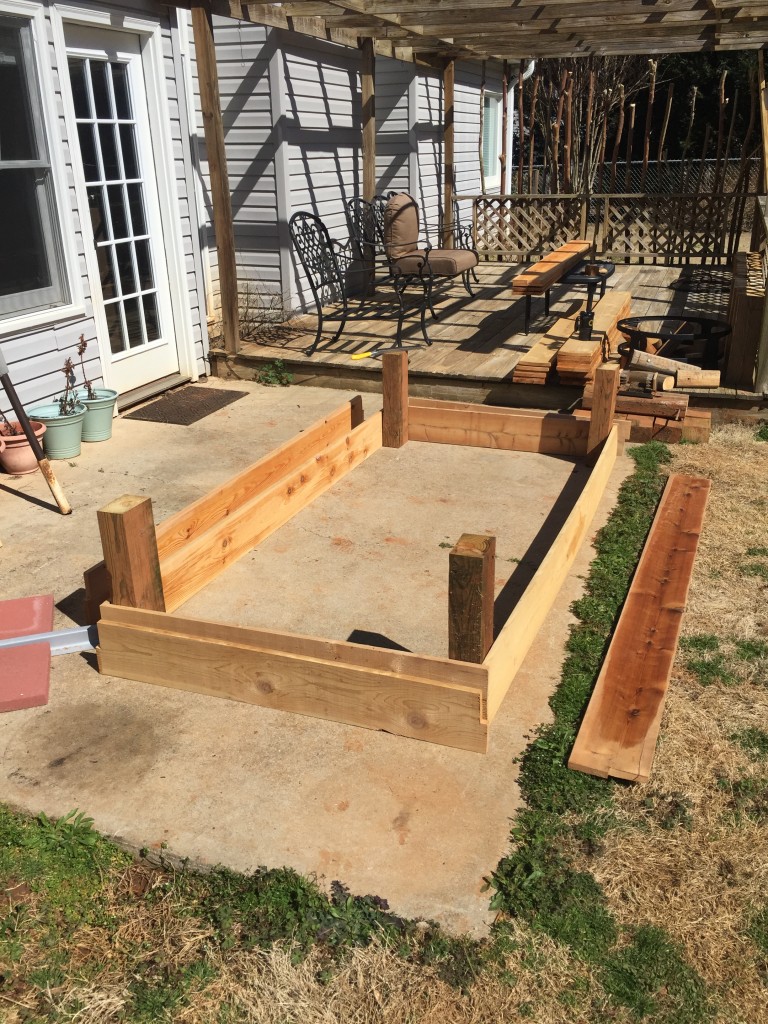
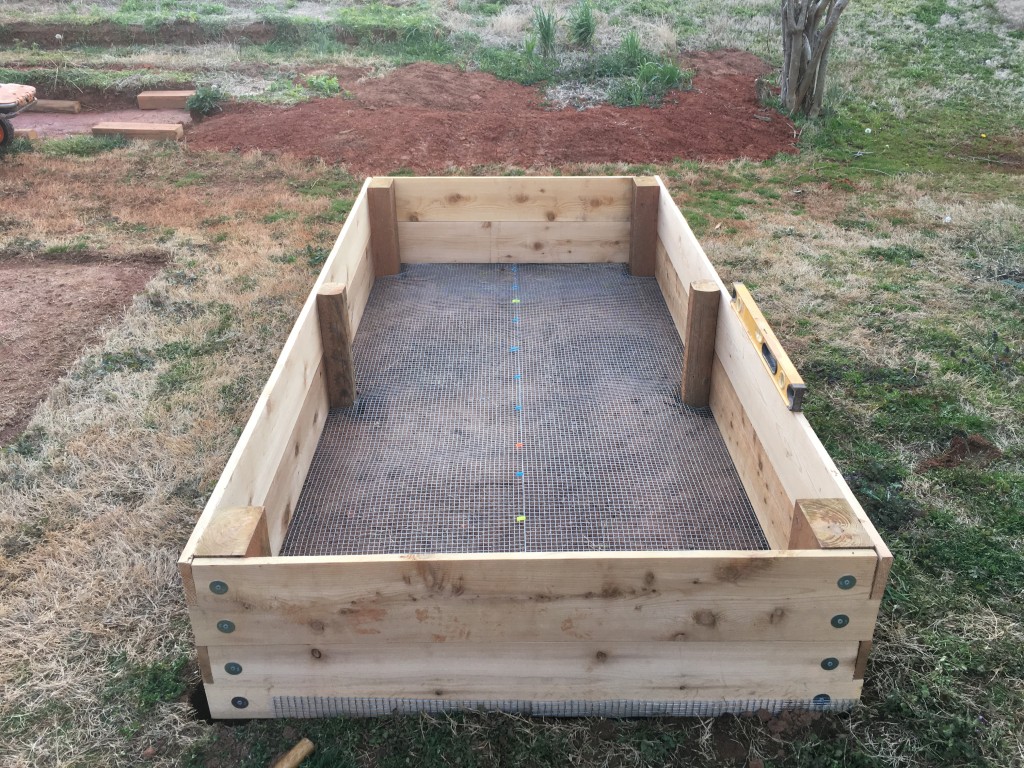
Then my husband created six 4′ x 8′ cedar raised garden bed frames. For materials, he used 1″ thick and 8″ wide cedar planks for the sides, a few pieces of recycled landscape timber and recycled 4″ x 6″ posts for frame supports. In-store measurements aren’t always accurate, so check the measurements for accuracy.
Alejandro made all of the measurements and miter saw cuts first so that he could assemble the boxes more quickly. This also kept our small worksite tidy.
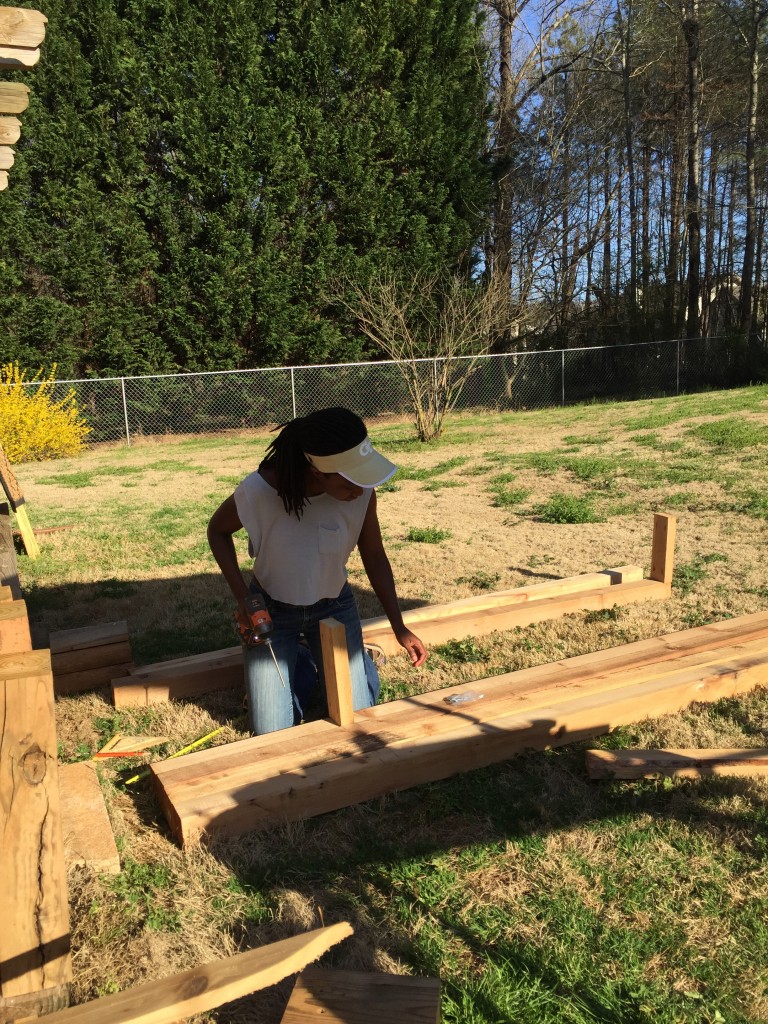
It’s easier to build your box from the top down, meaning that you begin with the top face on the ground and the legs sticking up. You may also want to use a drill with a cord and consistent power (rather than battery powered) solely to make the holes. We used a 1/8″ bit for the pilot holes. You can then follow up with an impact drill with a magnetic sleeve to put in the screws. The magnetic sleeve helps to hold the screws in place while you work. One less thing to worry about, and the work goes by faster.
The joints connecting the side panels are simple: for aesthetic purposes, we decided to use a jigsaw to create two L-shaped cuts. We then fitted them together with #8 x 2-1/2″ exterior wood screws and 1/4″ x 1/4″ washers. It’s pretty, yet simple. Fancier hardware can increase the cost of your raised beds unnecessarily.
He used an auger to make holes for the posts. These help to keep the boxes from warping under the weight of the soil whereas the four sides of each box are the main support for the structure.
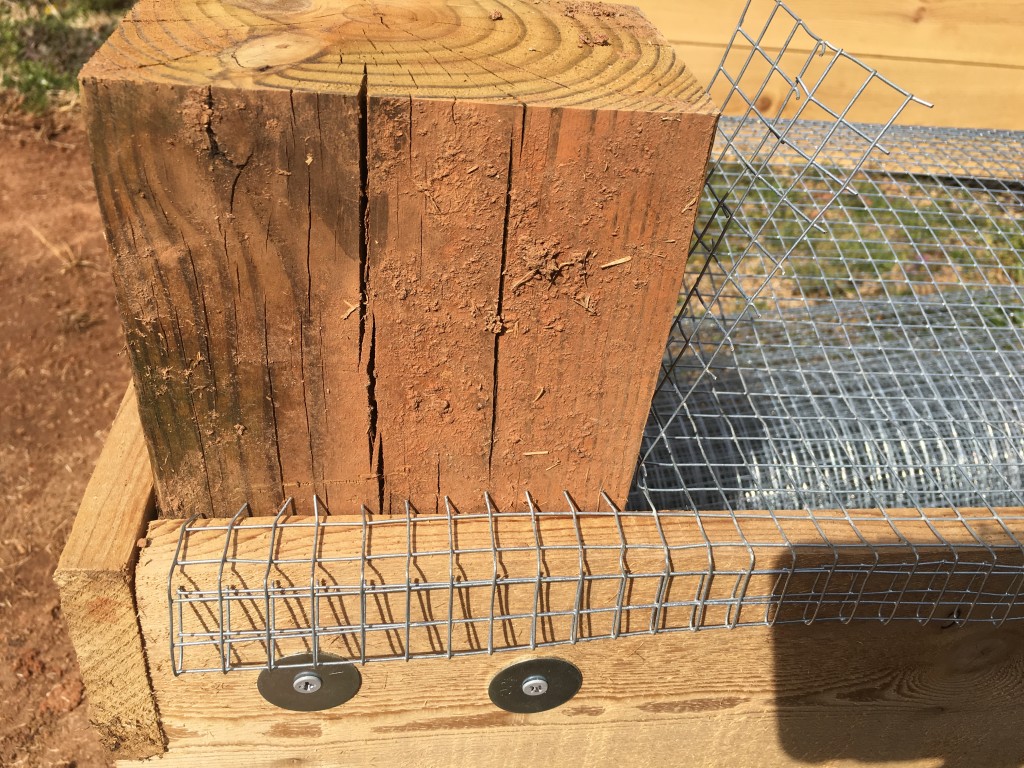
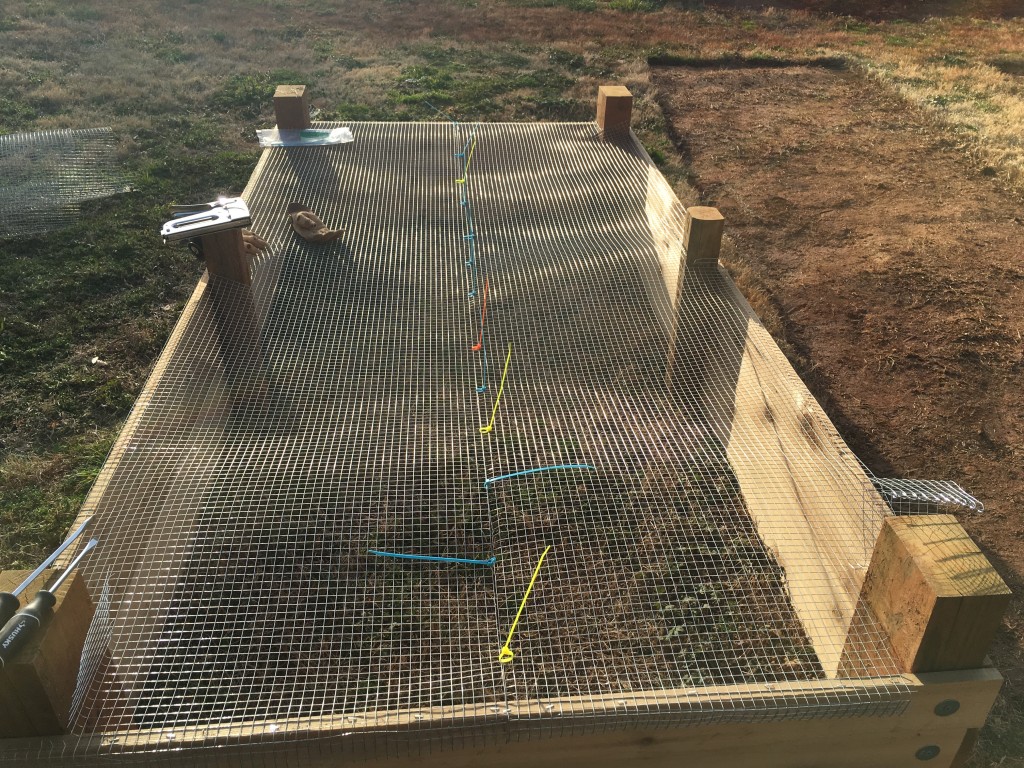
Then I attached 1/2″ chicken wire to the bottom of each box to keep rabbits from burrowing in and under them. We attached them to the wood using staples and attached them to each other using zip ties. (Many boxes will be topped with mesh roofs to keep critters from crawling in.)
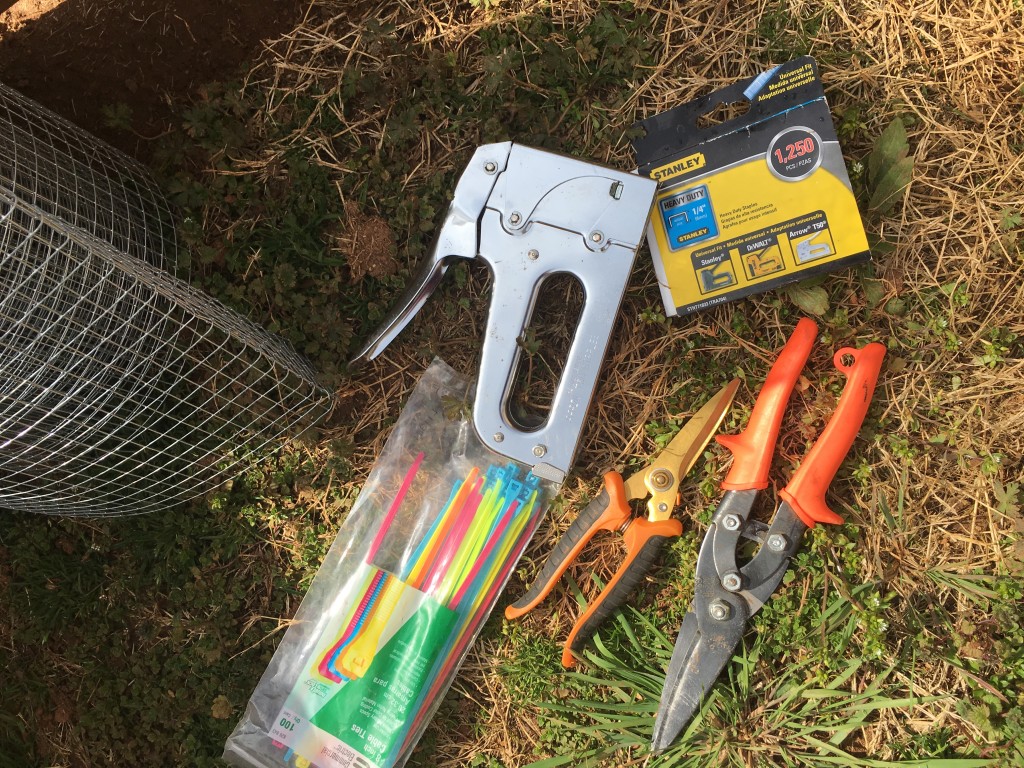
After stapling two sheets onto the bottom of the box, I realized that my hands were far too small for the manual stapler. I started getting really sore wrists and thumbs, like accelerated carpal tunnel on crack. The hubby solved that problem by getting a pneumatic stapler (about $40) powered by a six-gallon compressor (that we already had). Everything went much faster then, and pain-free. It can be used for other projects (like our upcoming headboard) so it’s worthwhile.
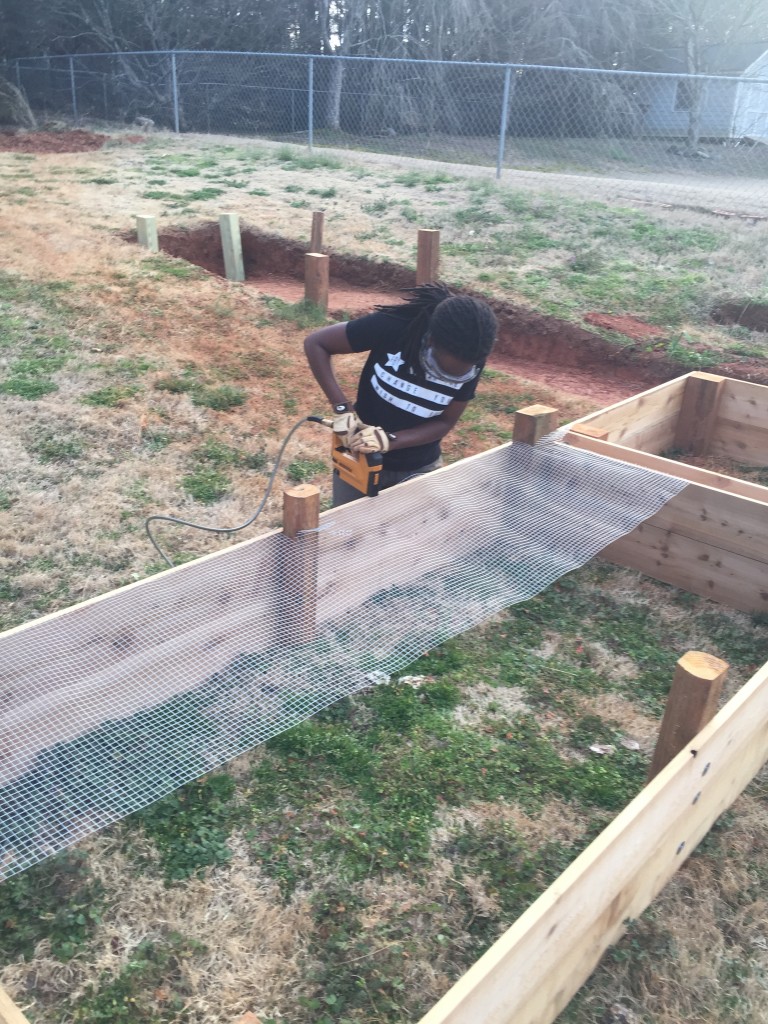
I made slits in the mesh for the post, and then stapled the excess to the post. I love rabbits. Just not in my kitchen garden 🙂
I started off creating horizontal strips or metal mesh and quickly moved to vertical strips so that I had to make fewer cuts; it’s hard material to work with. I HIGHLY RECOMMEND unrolling all of the mesh first and stepping on it so that it’s flat. It’s easier to work with that way, rather than when it’s coiled like a spring.
I also started off letting the metal wrap under the sides of the box, thinking it offered more security from the critters. Then I realized those raw edges might jut up from under the soil and cause a hazard to me while I kneeled near the boxes. I began stapling the mesh edges flush with the edge of the box. Still durable.
Two of the raised beds will have sides that are partially covered in soil. For these areas, we stapled a waterproof shower liner membrane to the exterior of the box. Skip the pond liners. They’re expensive and cumbersome. (Sorry, no pics of this part.)
I’m honestly not sure if this is a good idea: on one hand, it will keep the soil from prolonged contact with damp soil on both sides. Ideally, this will prolong the life of the wood. I wonder how it may limit drainage, though. Hopefully not too much since water can flow freely through the bottom mesh and evaporate through the top. We will see!
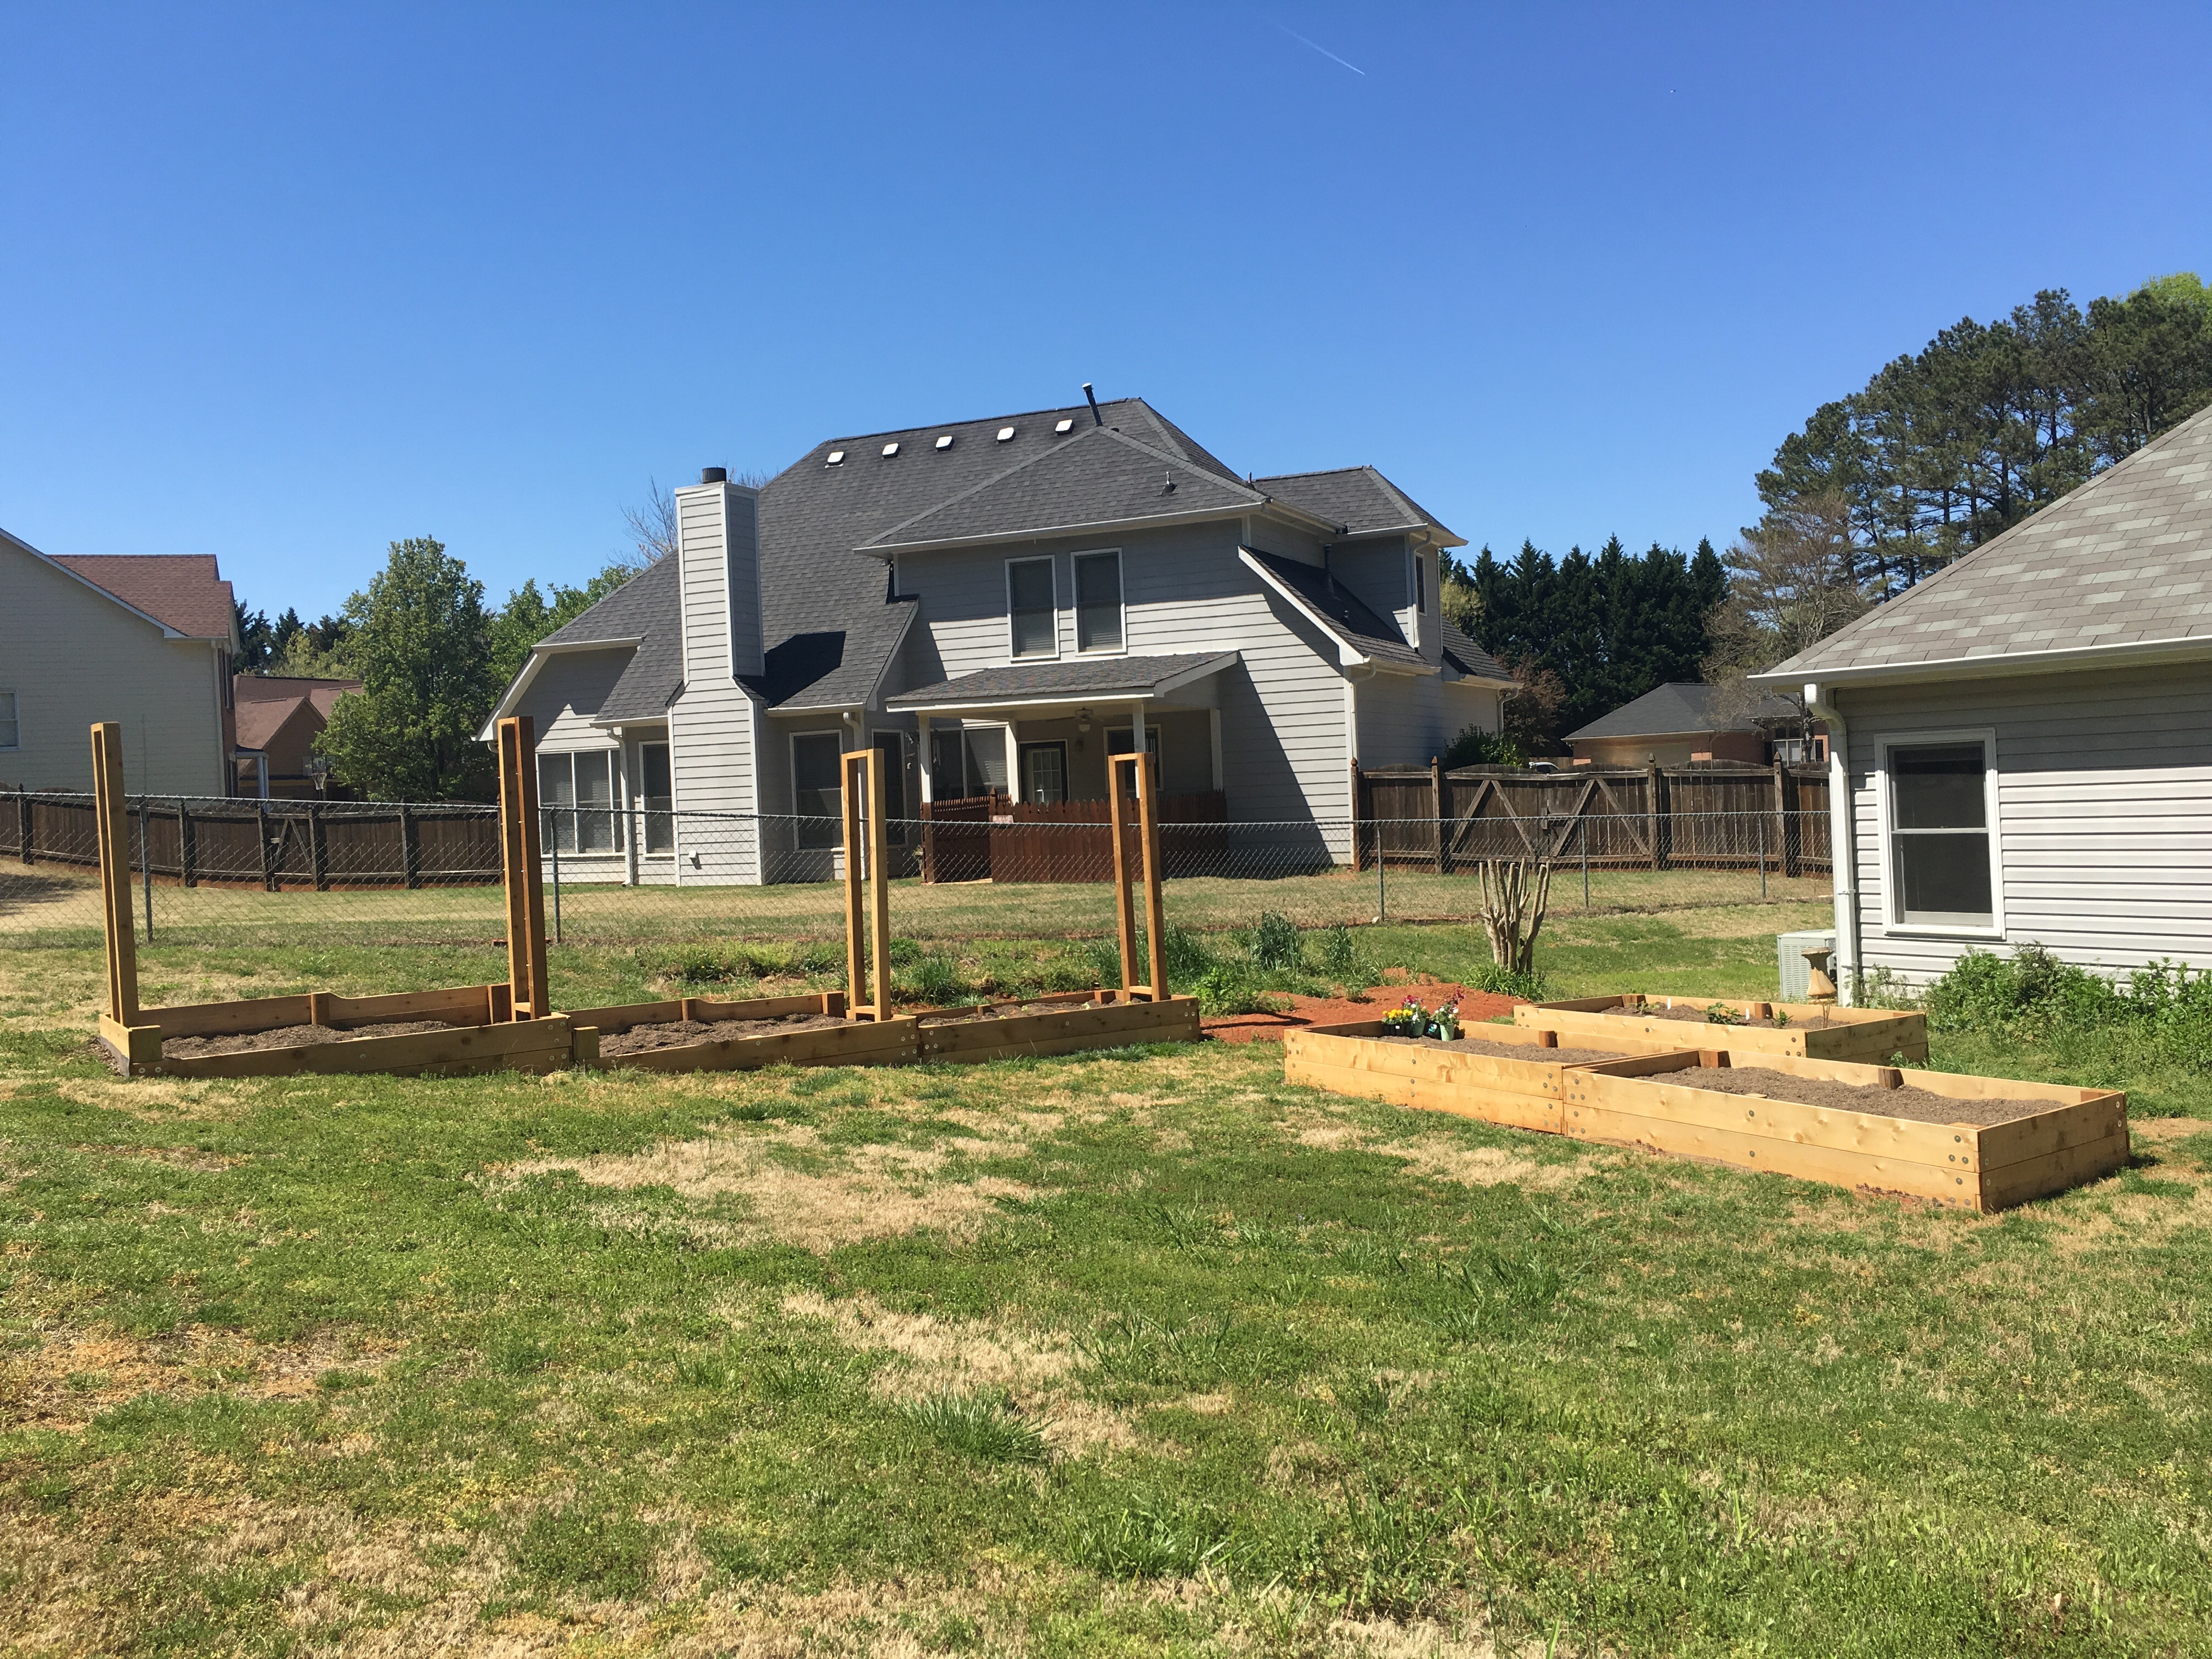
Lastly, we installed the posts. We used 4″ x 4″ cedar posts that are 8′ tall. These will serve as the basis of our Florida Weave supports for cucumbers, tomatoes, and other sprawling plants.
To connect the posts with the horizontal supports, we created pocket holes and then inserted wood screws.
Each post has a support at the very top (vertical thing jutting up in the far right) and another about two feet from the base. That’s the area that I’m working on.
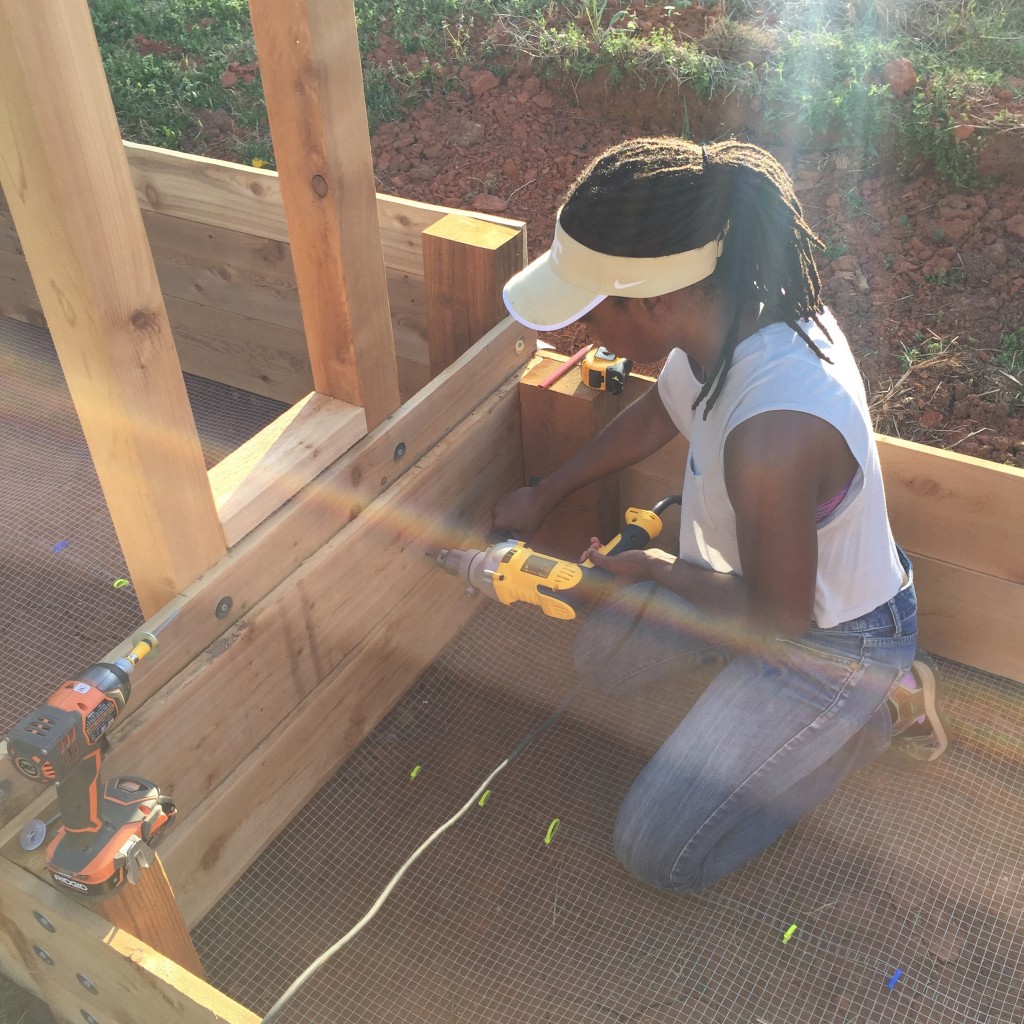
We buried the posts about 4″ deep into the soil and drilled the supports directly into the sides of the raised beds. Again, good idea here to use the corded drill for the holes and the impact drill with the magnetic sleeve for the screws.
The Soil
Georgia clay can be a tough, inhospitable atmosphere for seedlings. Clay holds water when flooded, yet forms a water-resistant crust in high temperatures. It can also be quite acidic. Too much drama for me.
We shopped around for pricing and delivery: tell the crew about where and how you’d like the soil delivered so they know what truck is most appropriate for your needs. We ordered 7 cubic yards of soil to fill the beds. It was delivered by a dump truck with only two axles (instead of heavy-duty trucks with three or more).
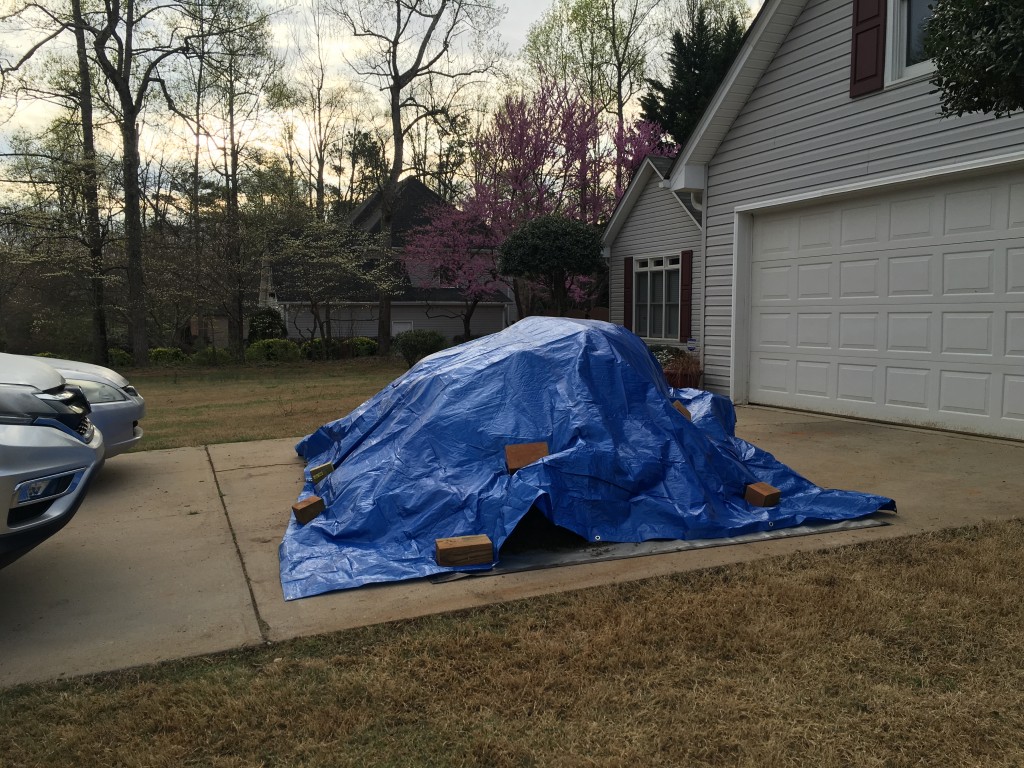
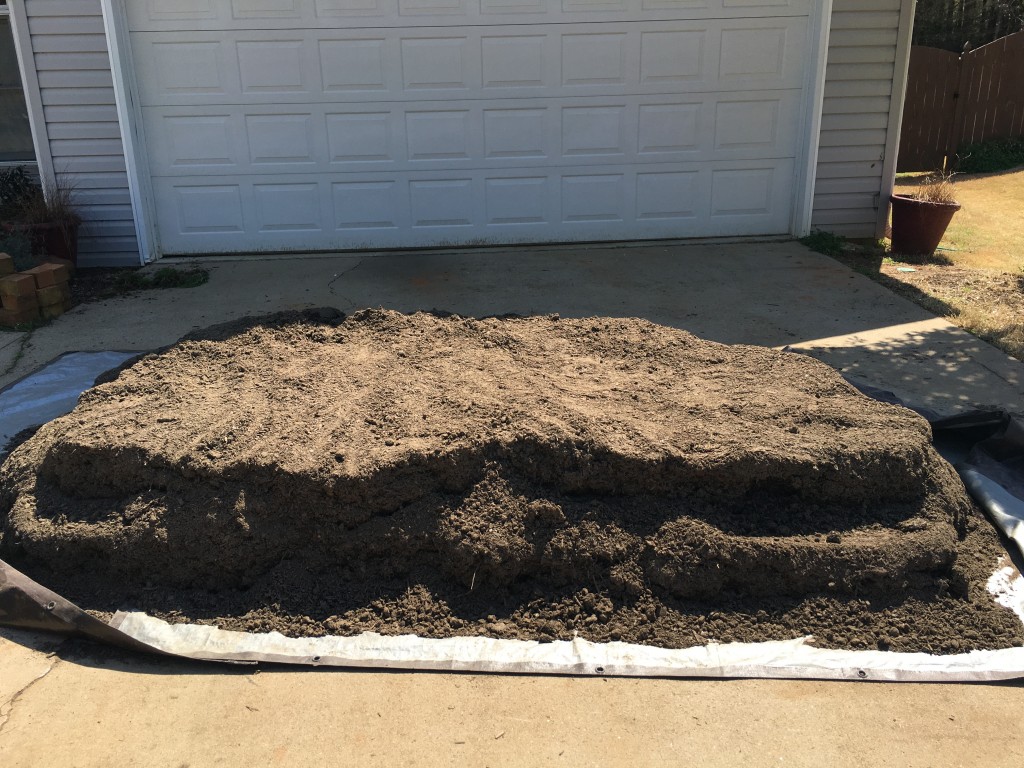
The soil is a quality blend of topsoil, sand, compost, and ash. It rests on a tarp so we don’t have to pressure wash the driveway. We also covered it with a tarp so that it wouldn’t wash away while we work on it.
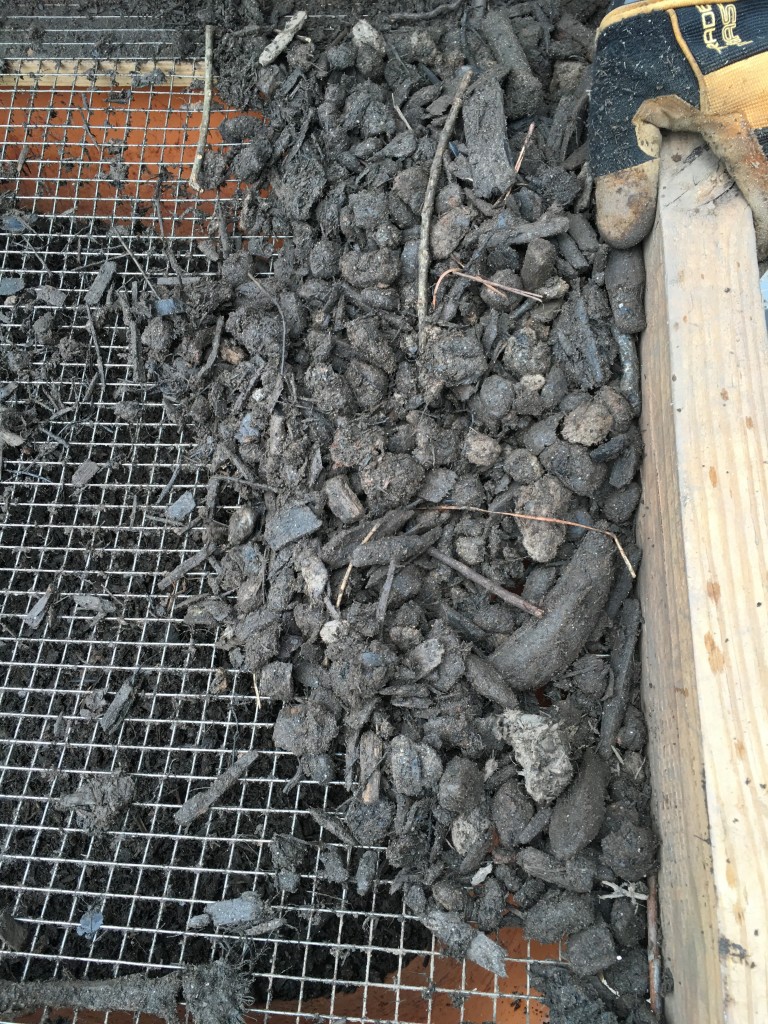
What work, you ask? Though it was good stuff, there were still some rocks and twigs in the mix. We opted to put all 7 cubic yards through a 1/2″ sifter by hand. Some may choose to skip this step. (It took us a week working in the evenings.) But we only have to do it once and we have ideal soil with few obstructions for growing plants.

Our DIY sifter came in handy! We’ve used it for two seasons and it has been so helpful in getting rocks, sticks, and debris out of the soil. We want our garden beds to be like spa beds for the plants 🙂
Even good soil can have unwanted debris in it.
The soil mountain got smaller and smaller. My husband’s Mesoamerican came out as he started making stepped pyramids out of the mound, haha.
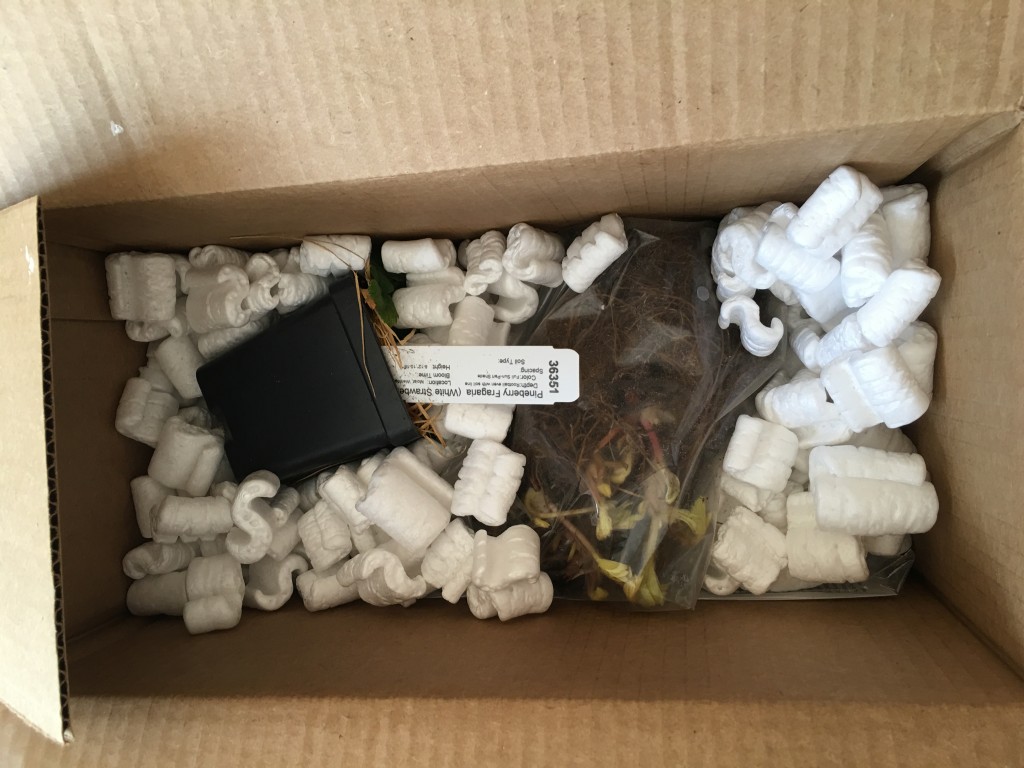
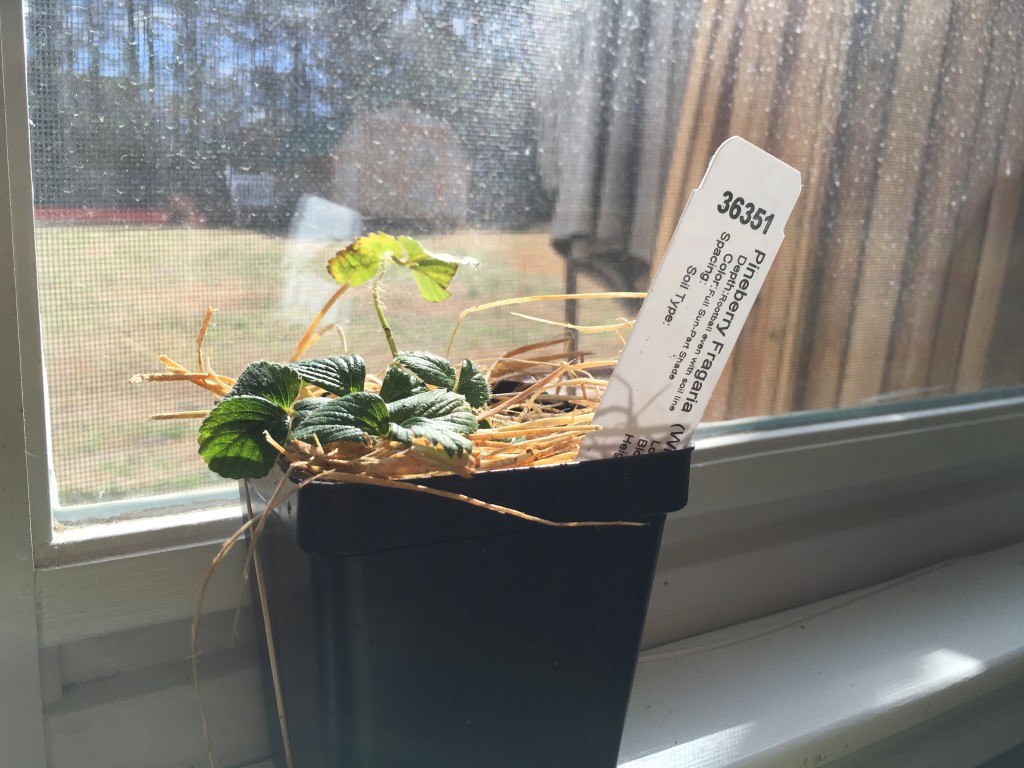
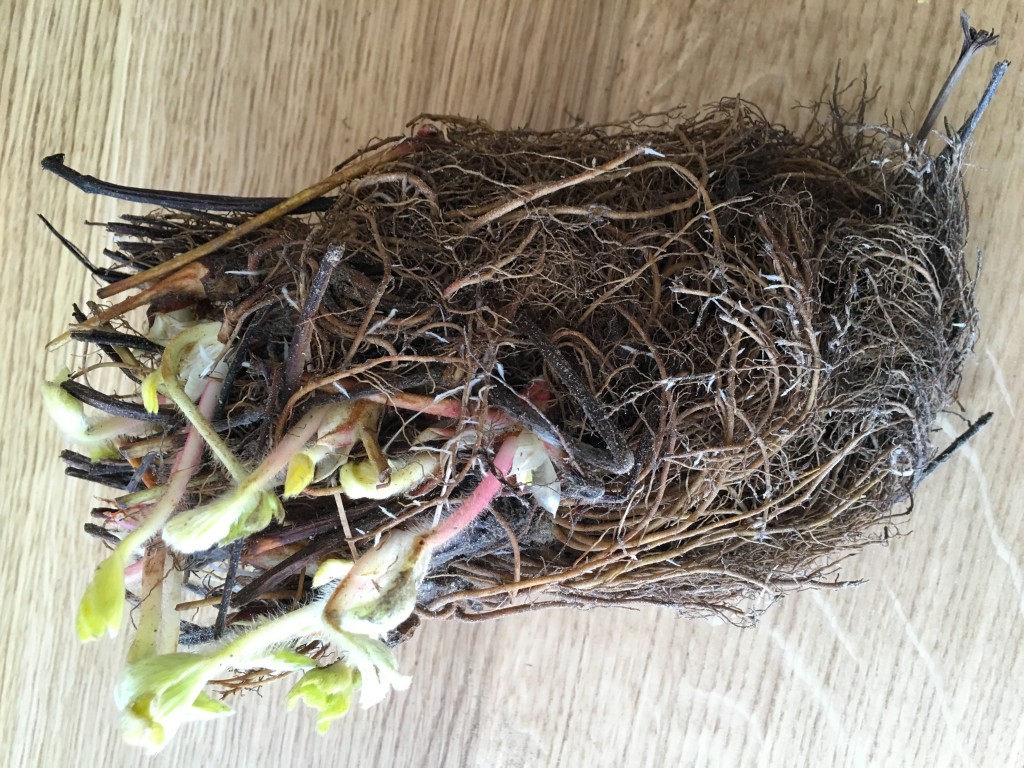
All of this work is getting done while the seedlings are growing indoors. There were a few plants that I ordered as bare roots from Park Seed Co. They arrived during this time and were eager to find their new home!
With the soil sifted, we then filled each of the 16″ beds with soil about 15″ high. It will settle a bit and then I will have room to add Happy Frog fertilizer later on if needed.
My metro Atlanta friends and family (city folk, haha) wondered how we could possibly be “working on the garden” for so long. Hopefully, this helps it all make sense.
Is it worth it? Yes. Just wait until the harvests start coming in. These raised beds will quickly pay for themselves.